SO happy that I live in an area that grows peaches.
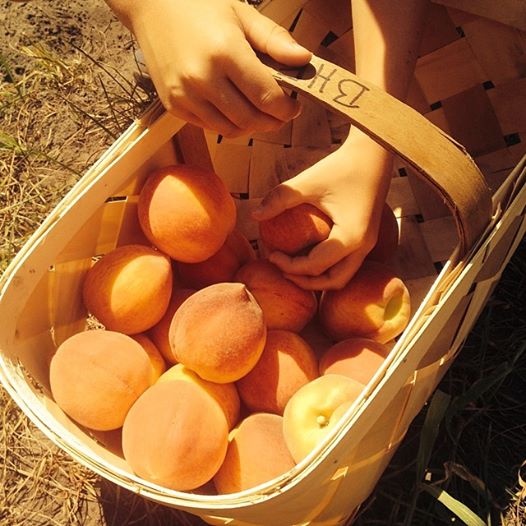
So the other day my oldest son and I took a trip to Boone Hall Farms and it did not disappoint.
What does it mean when you have peaches at your fingertips?????
It means peach cobbler.
A whole wheat version of course. I enlisted my oldest child to help…

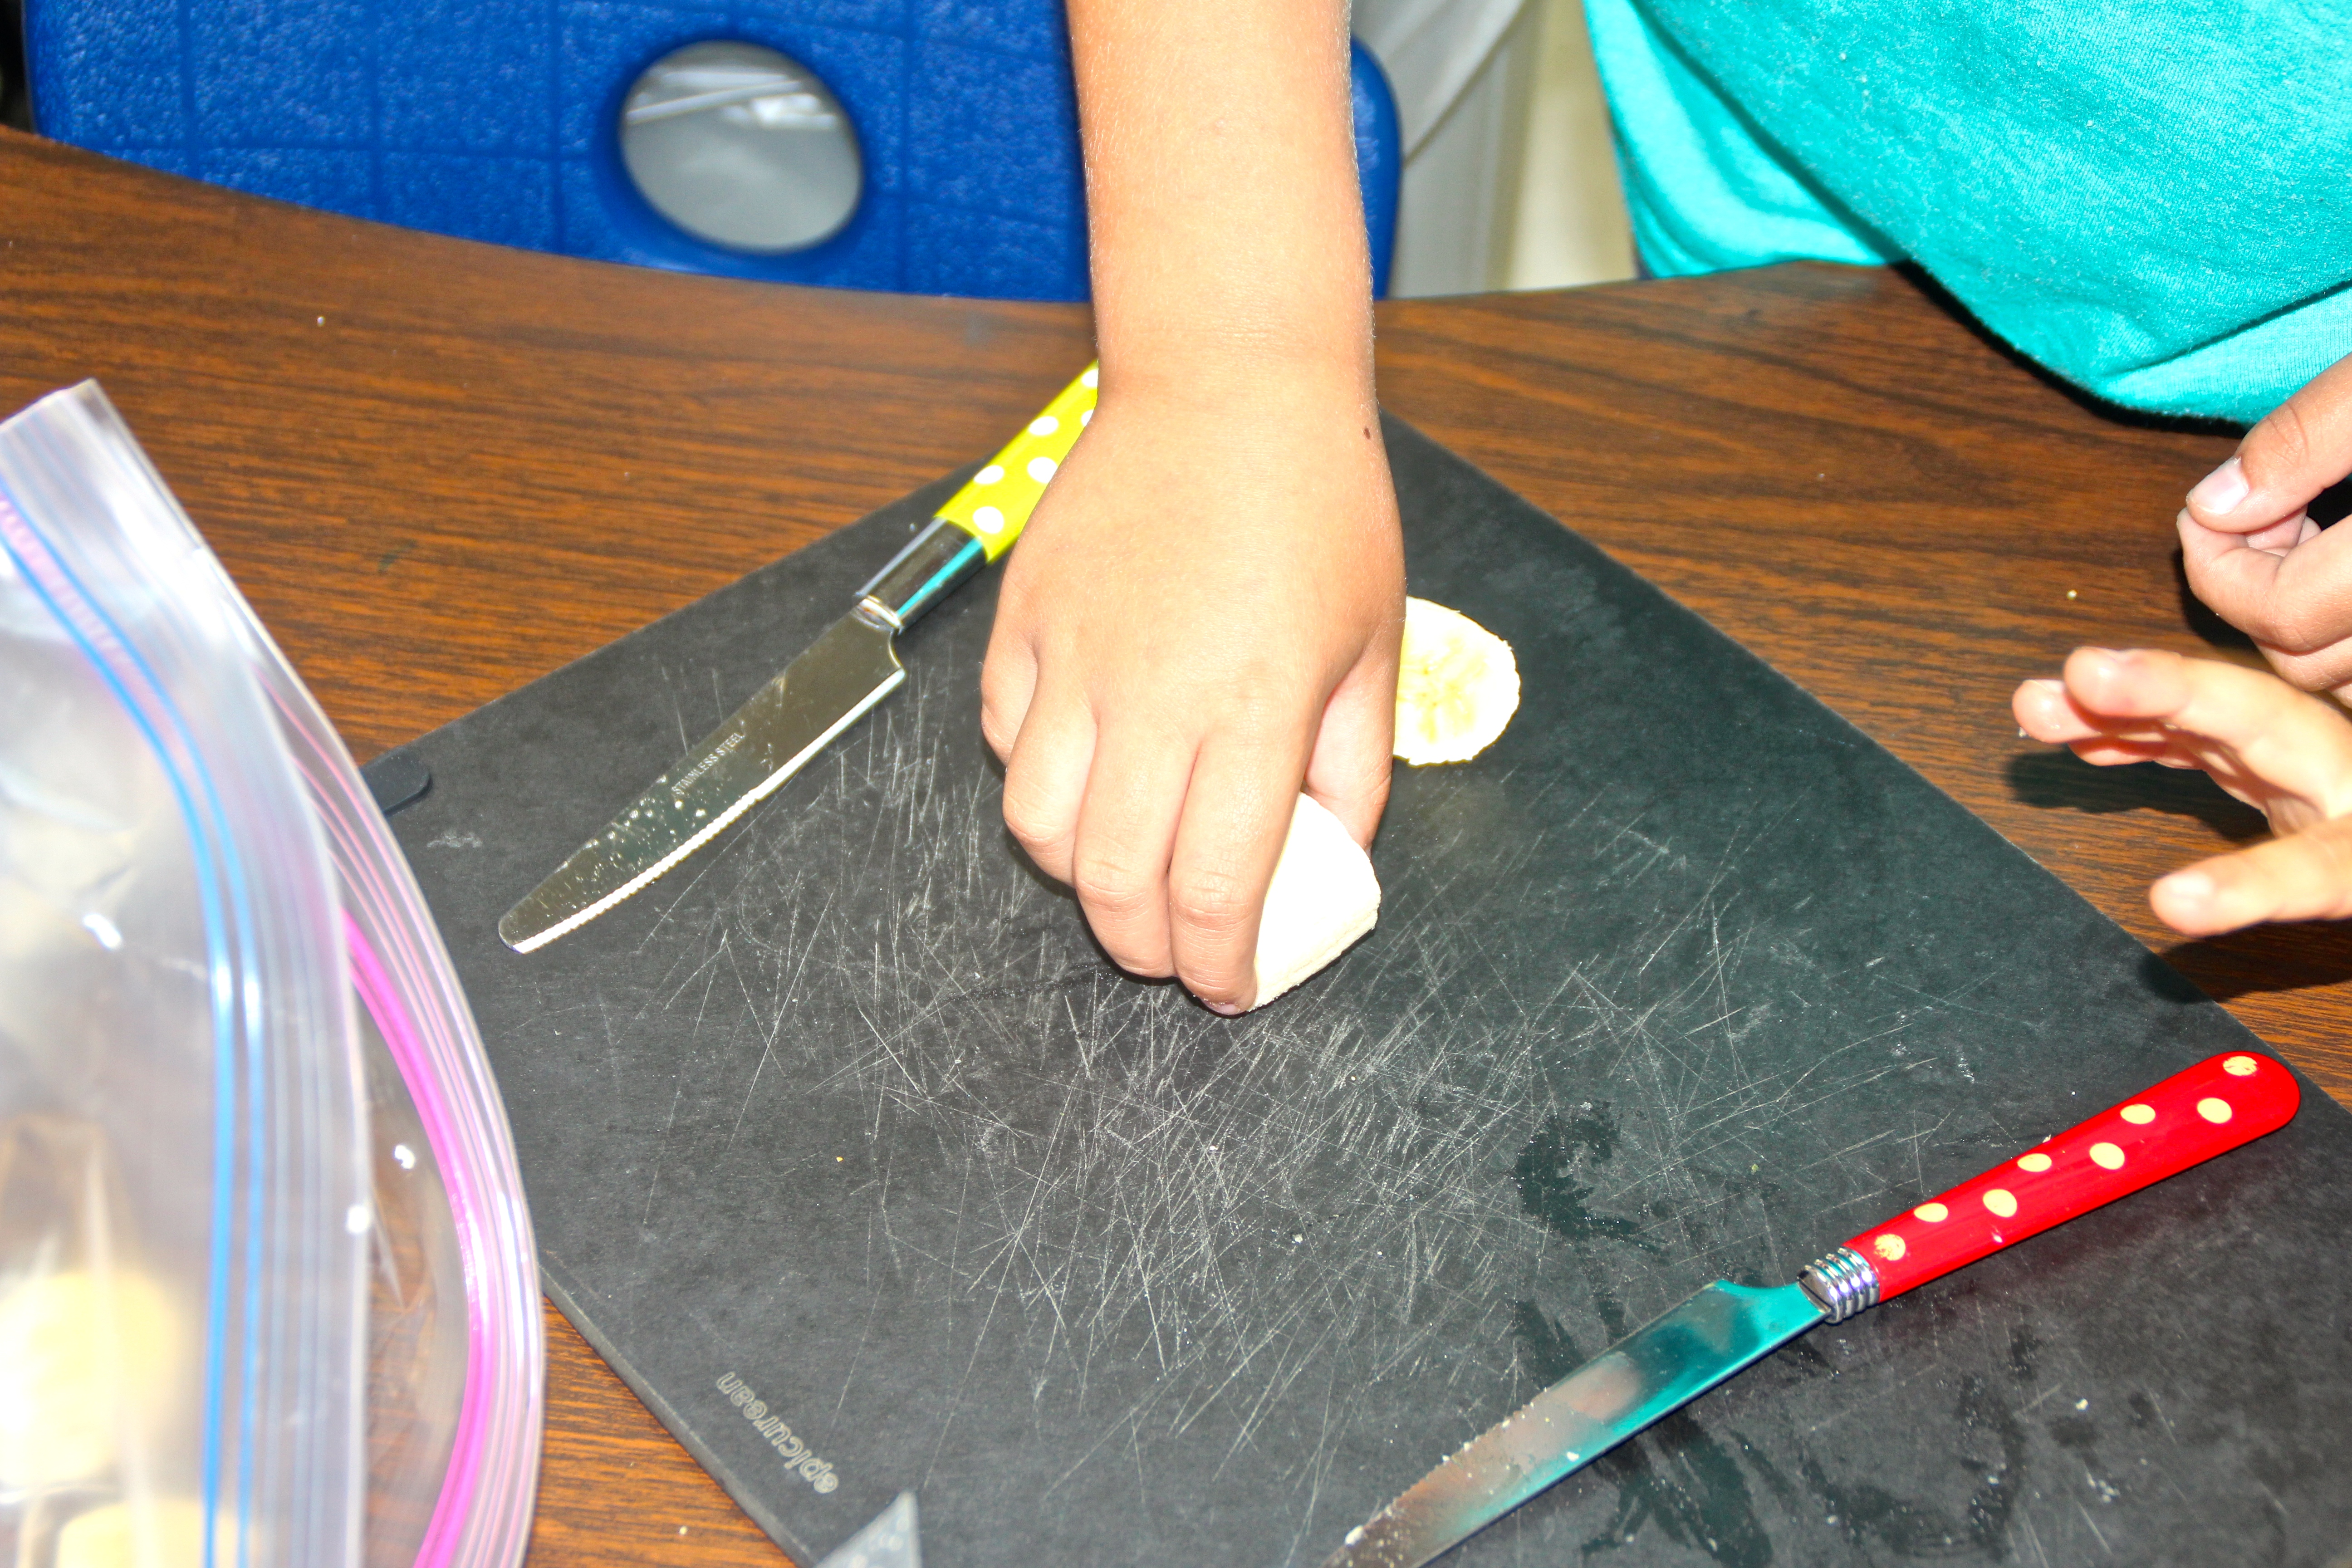
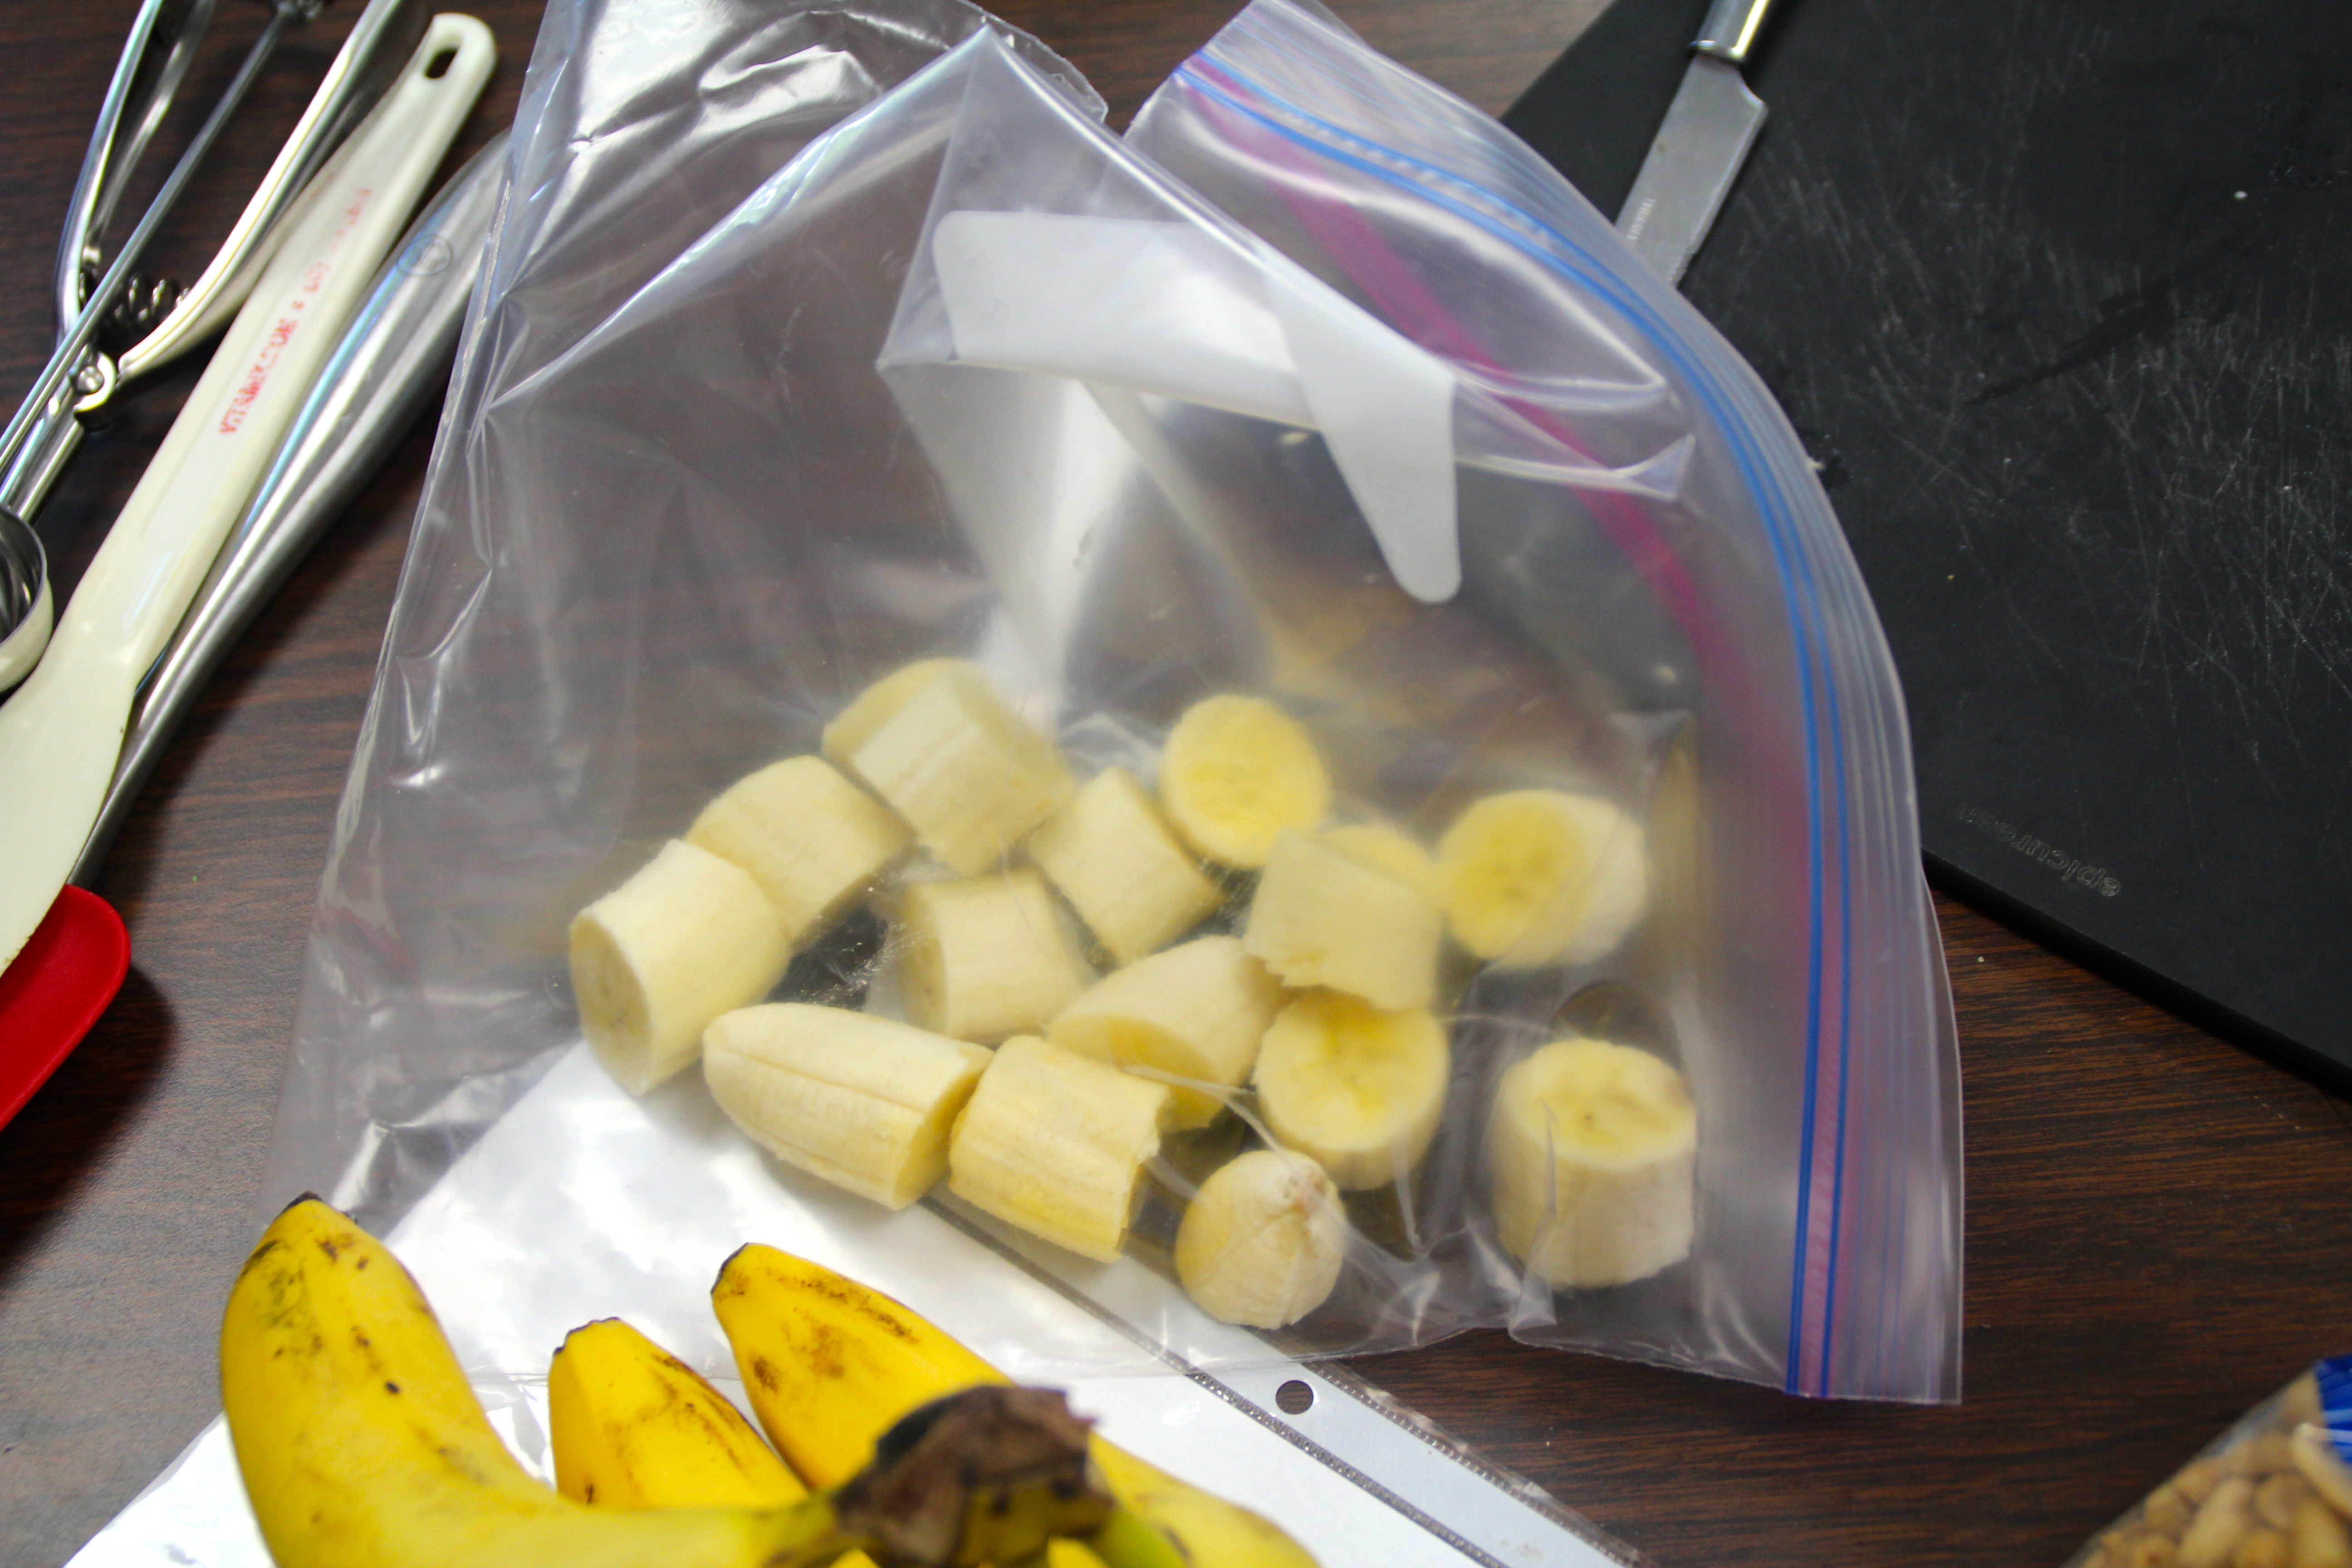
We started with these.
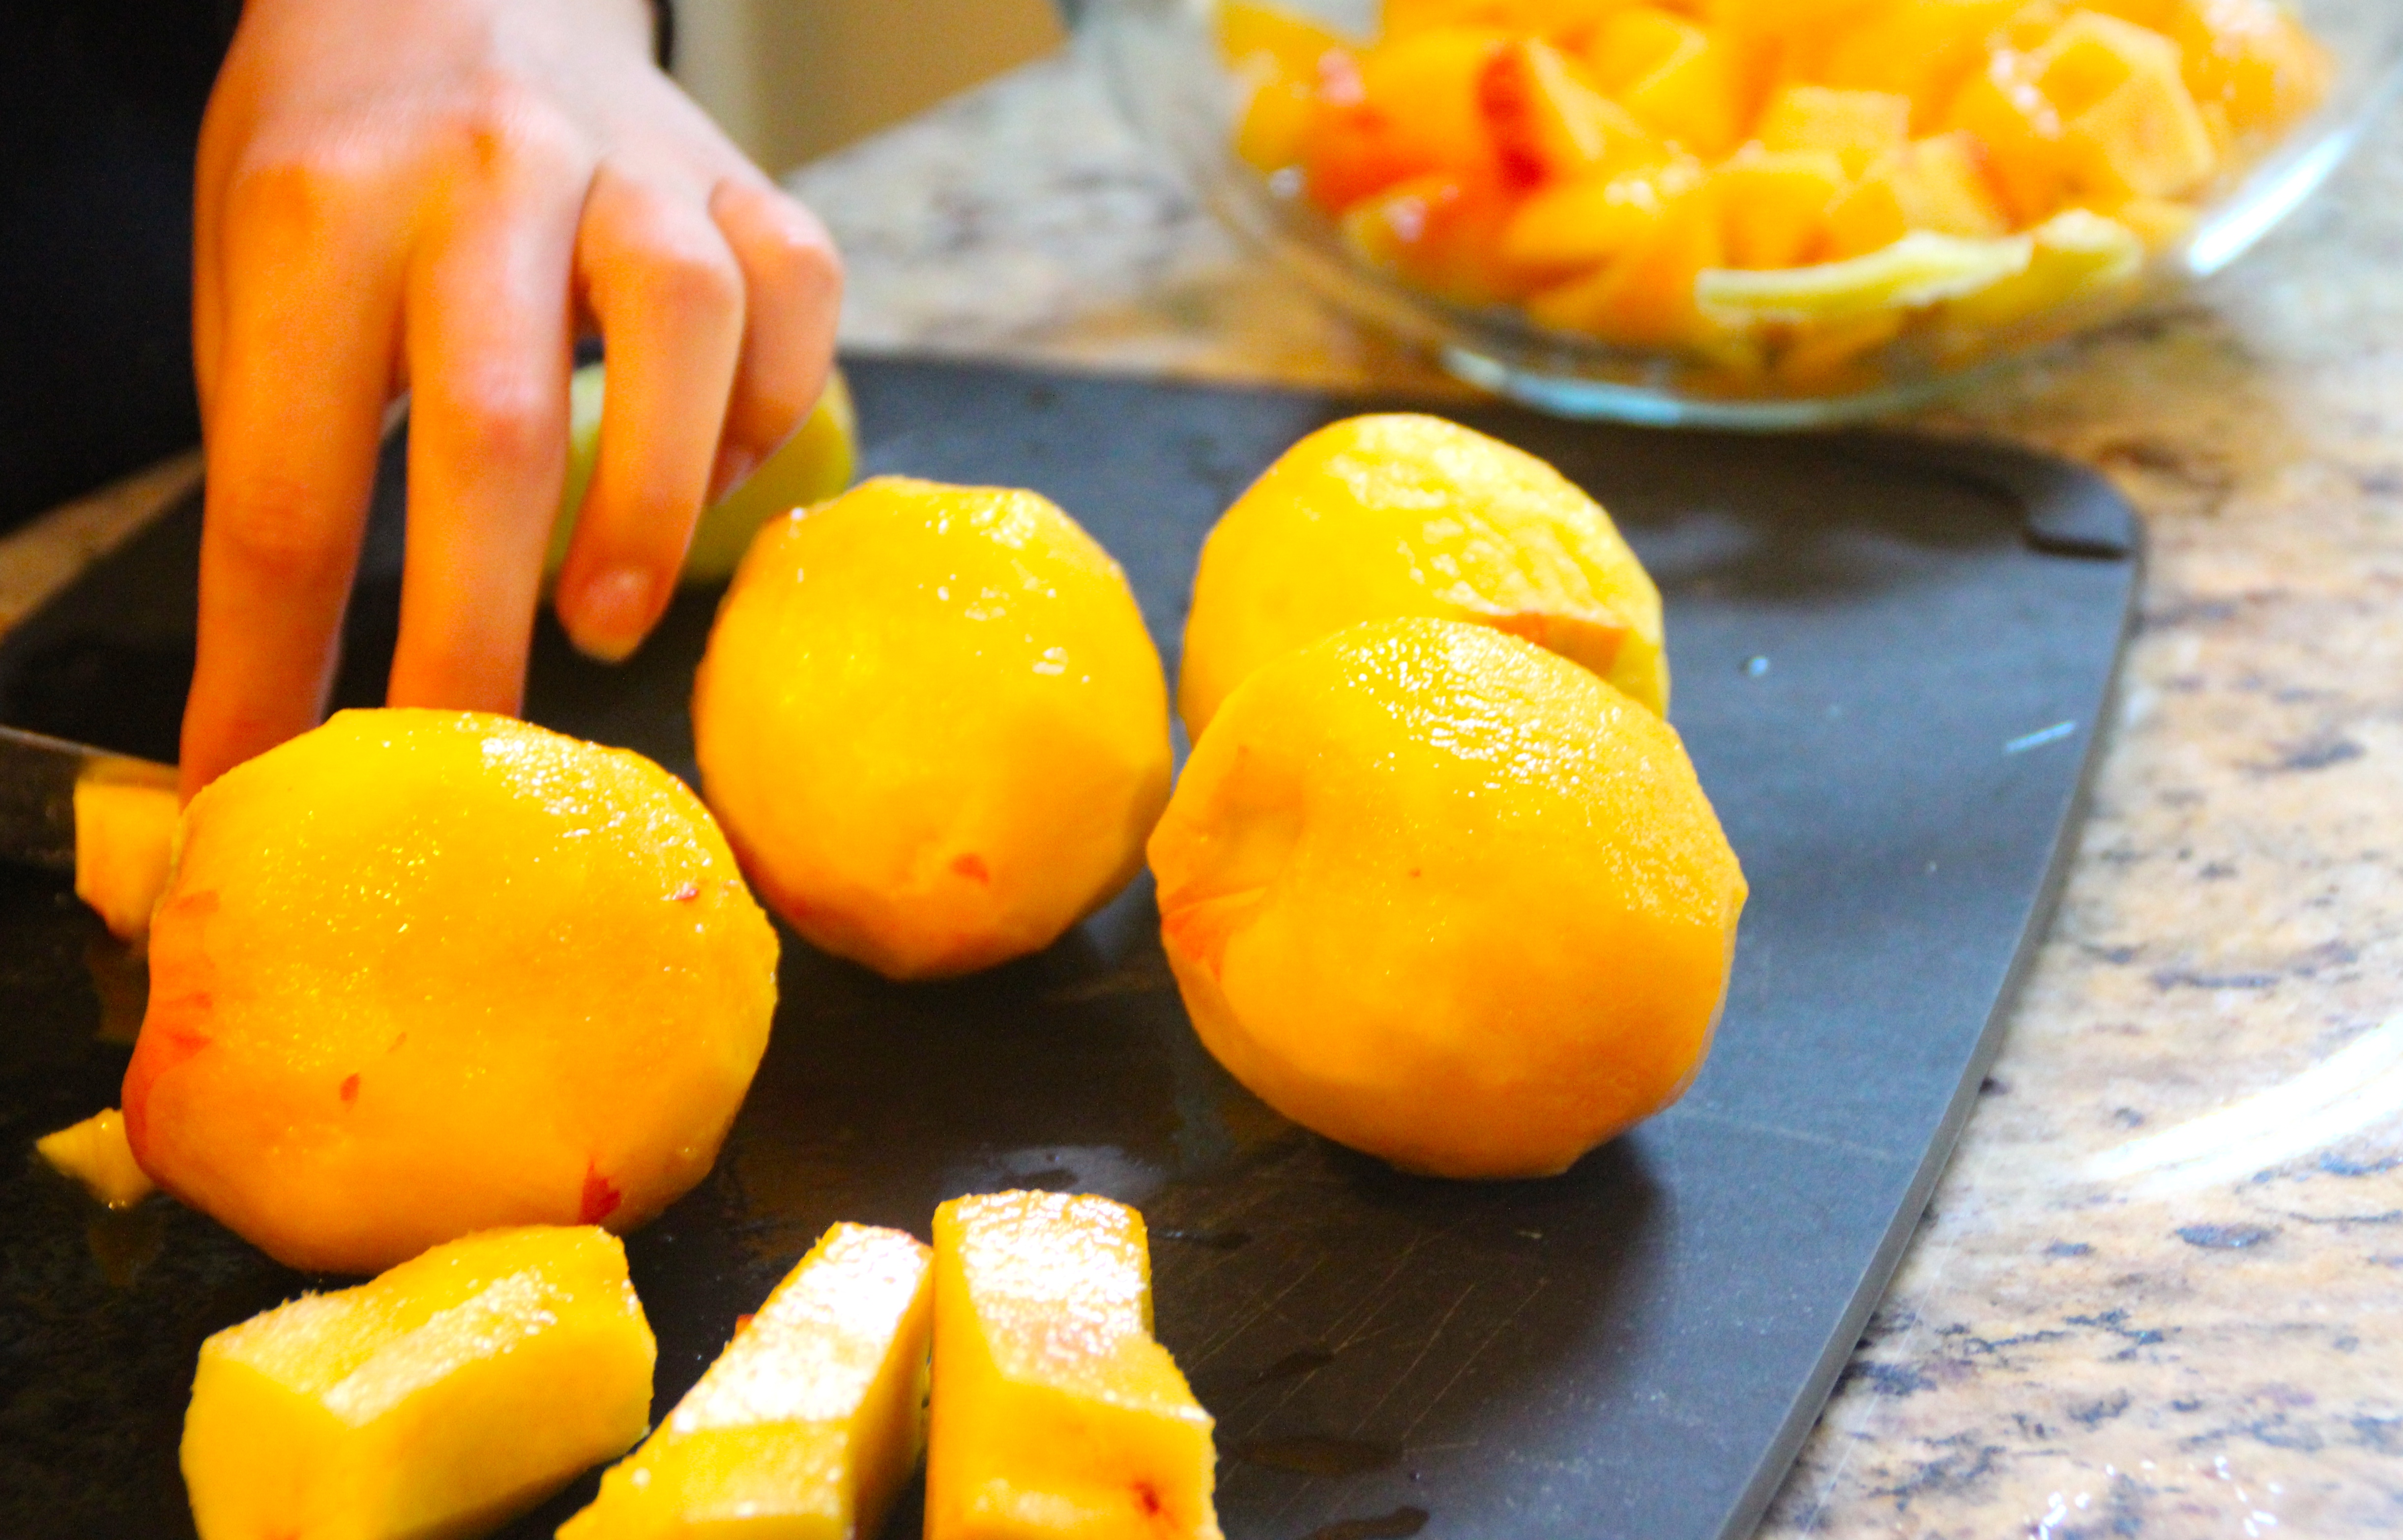
Devyn peeled and sliced.
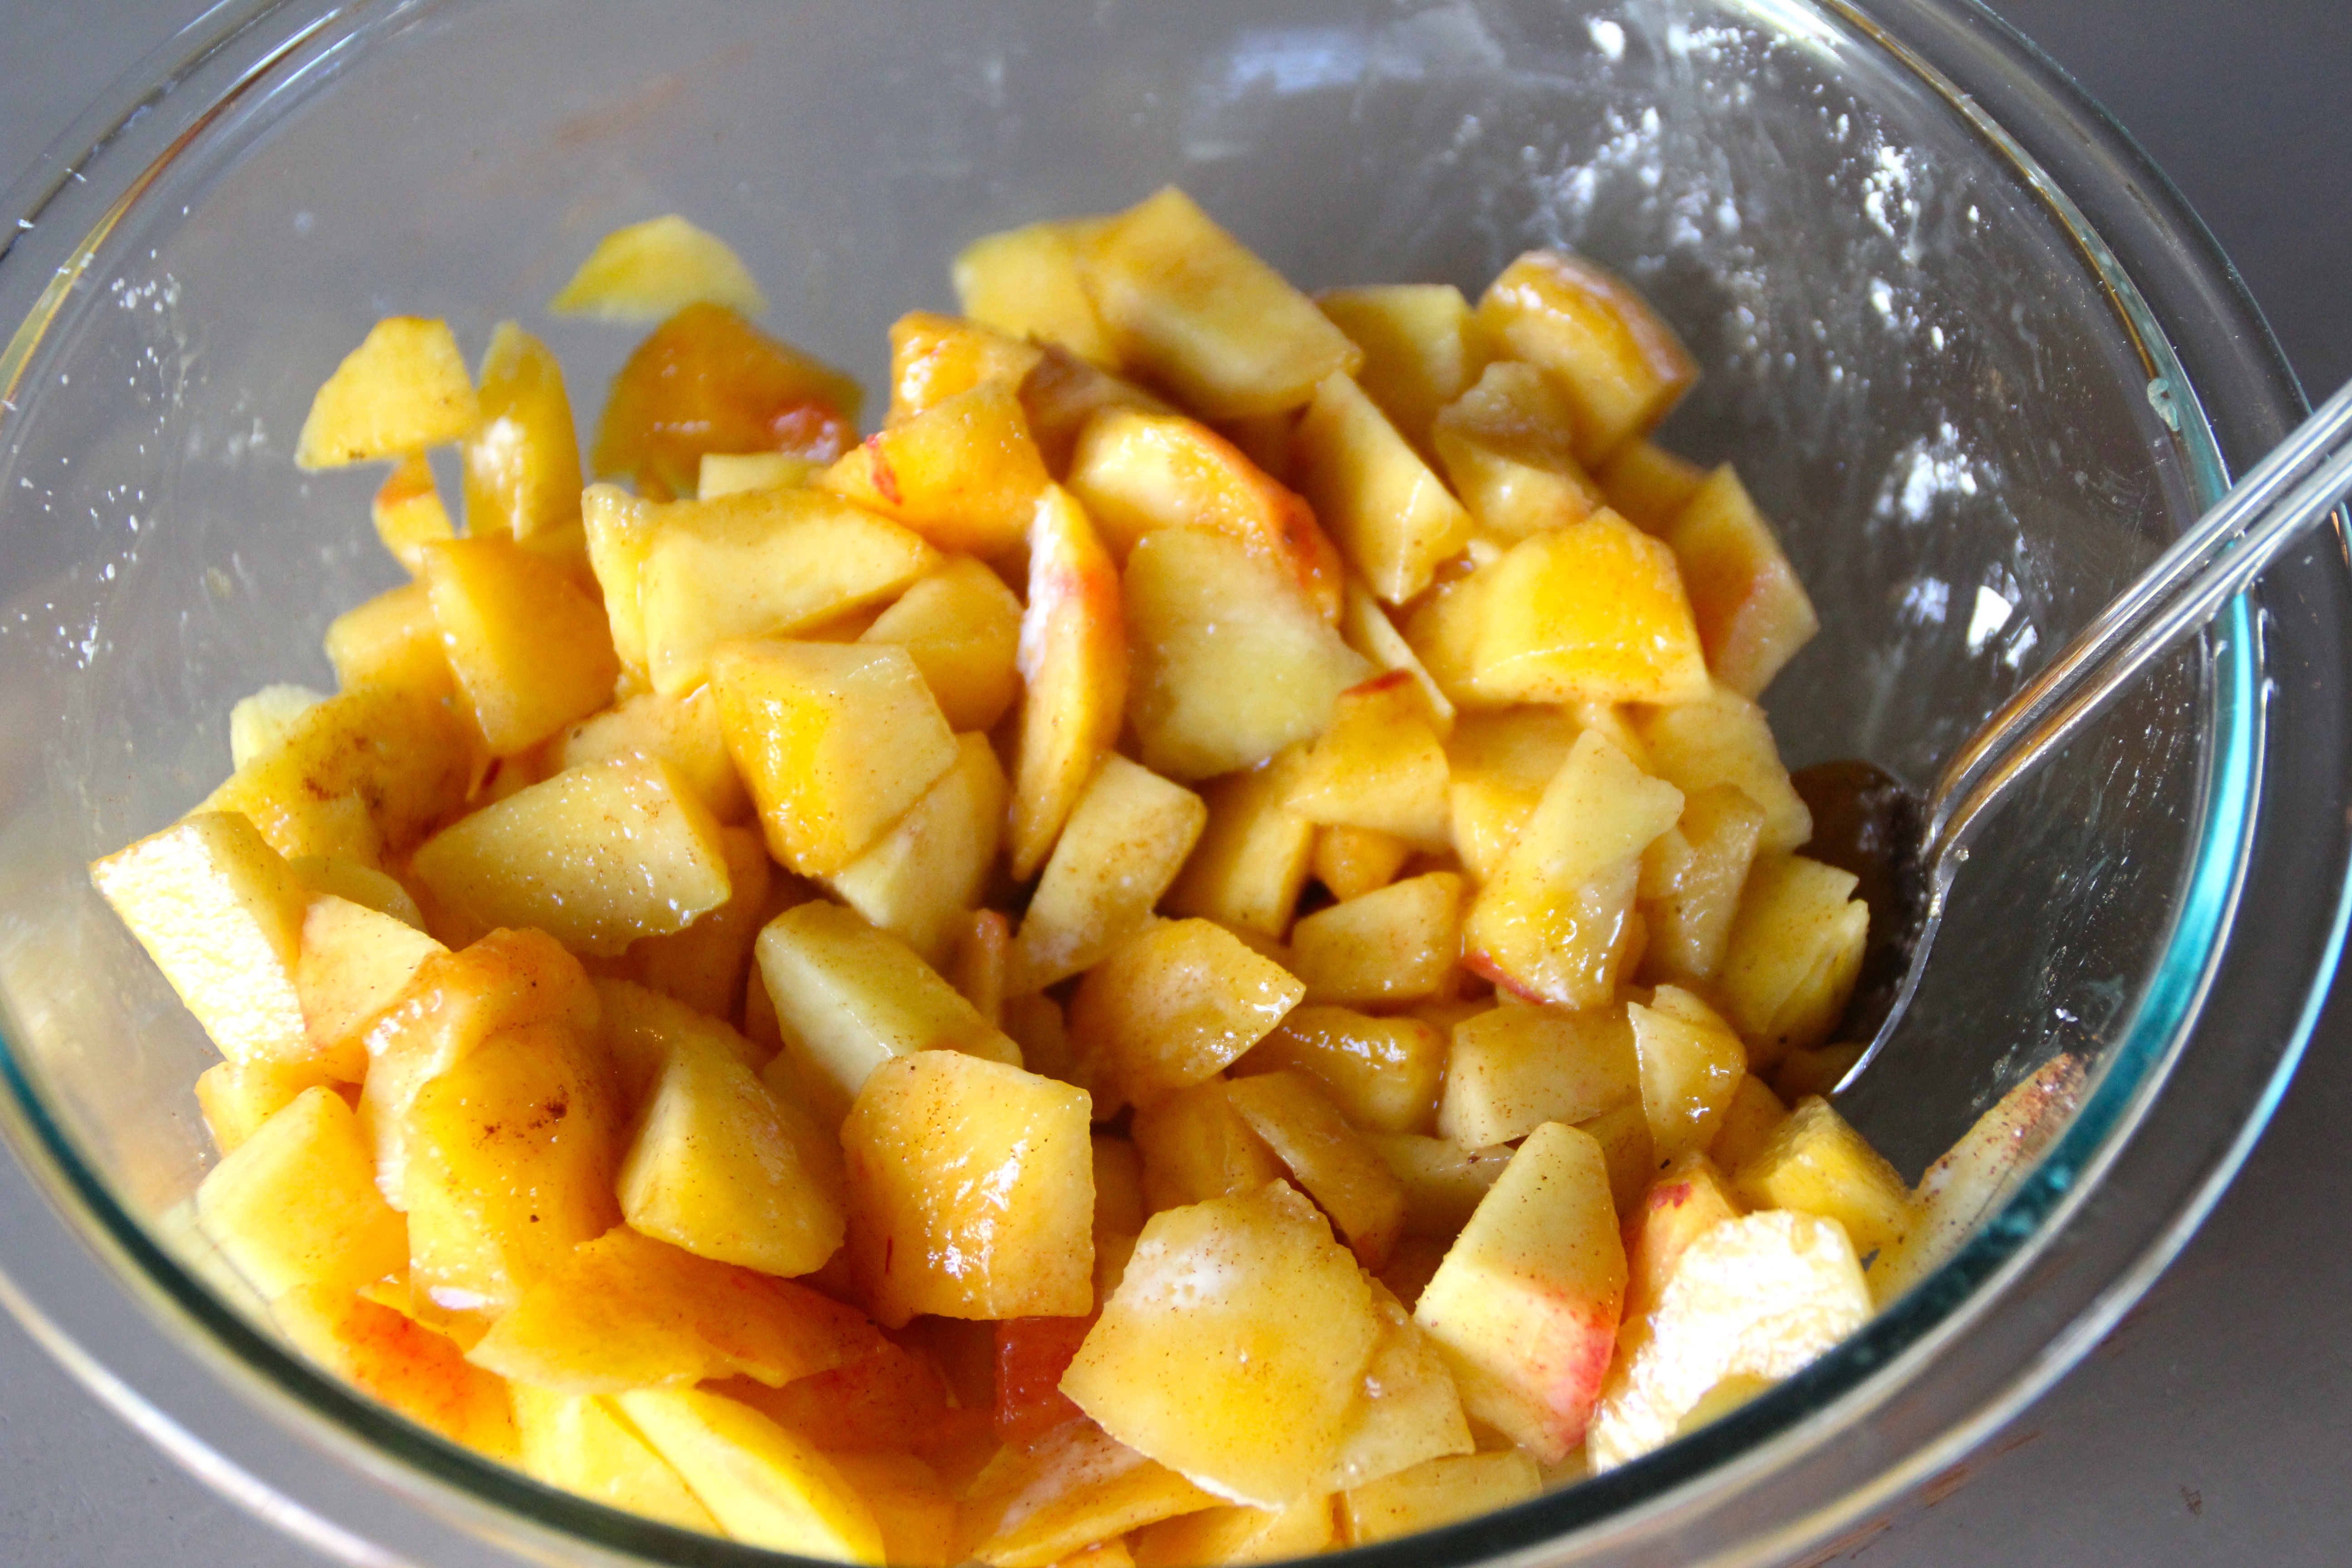
Then we added our sweetener.
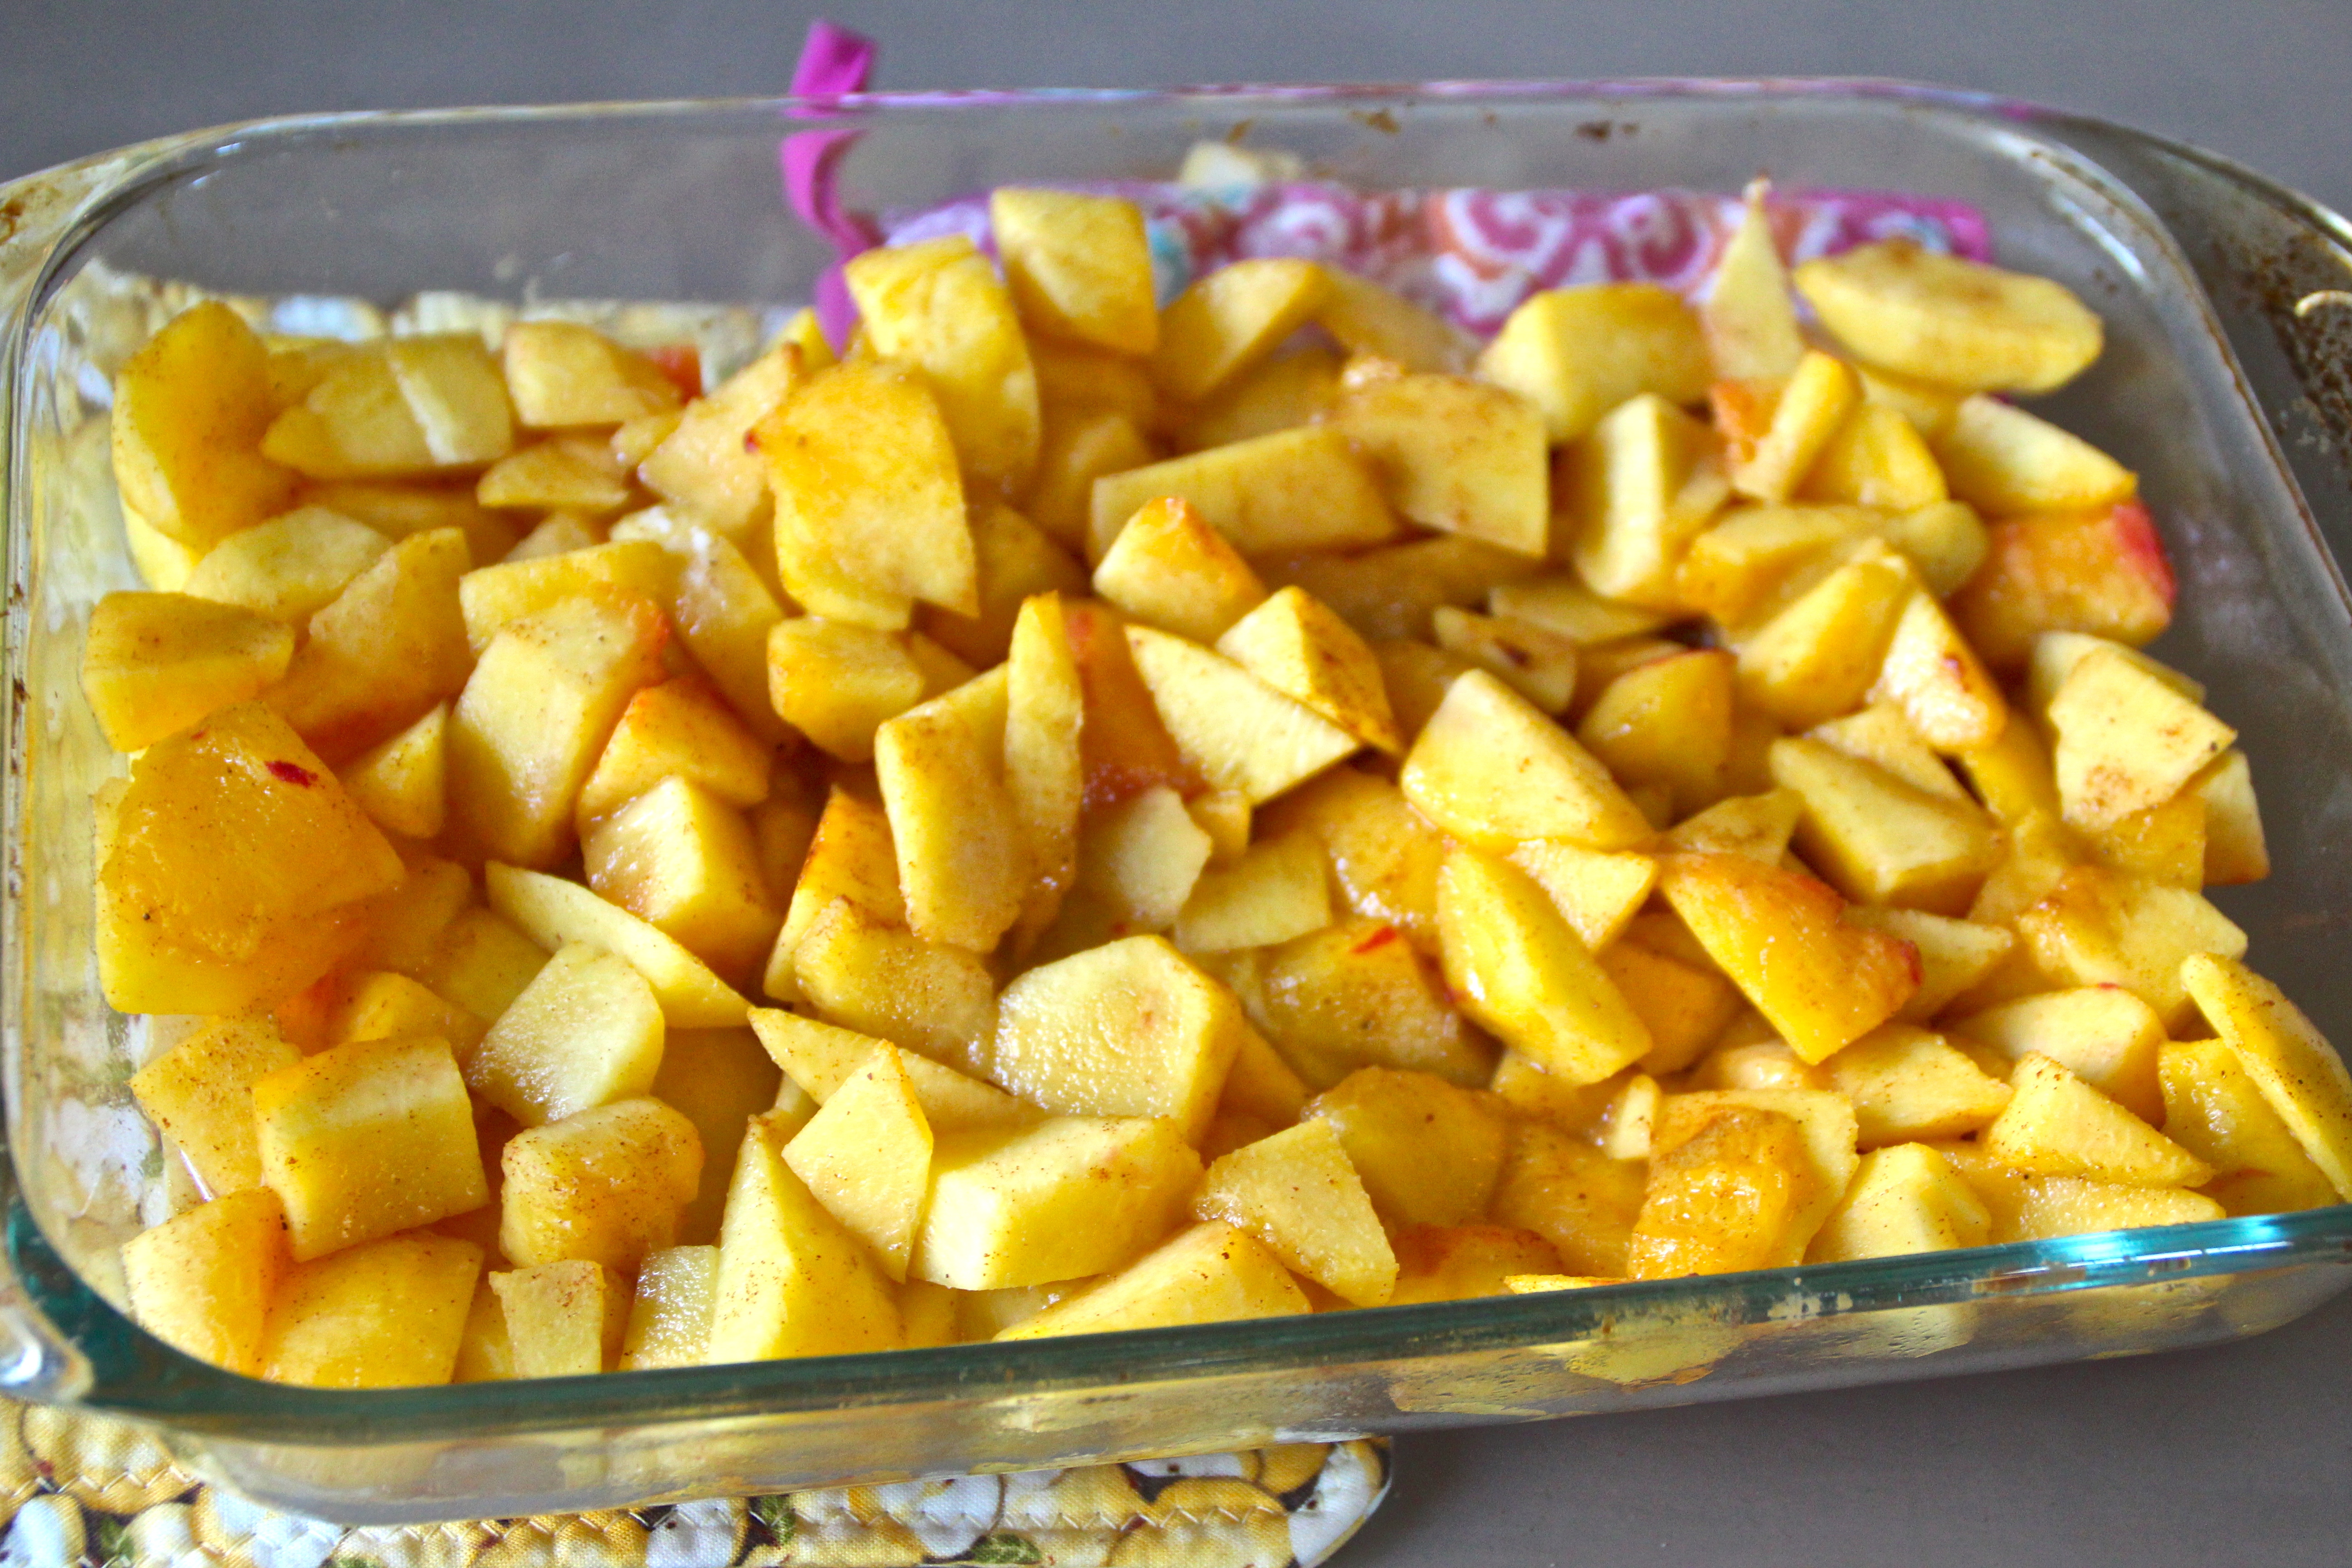
Next we spread the peaches in our prepped baking dish.
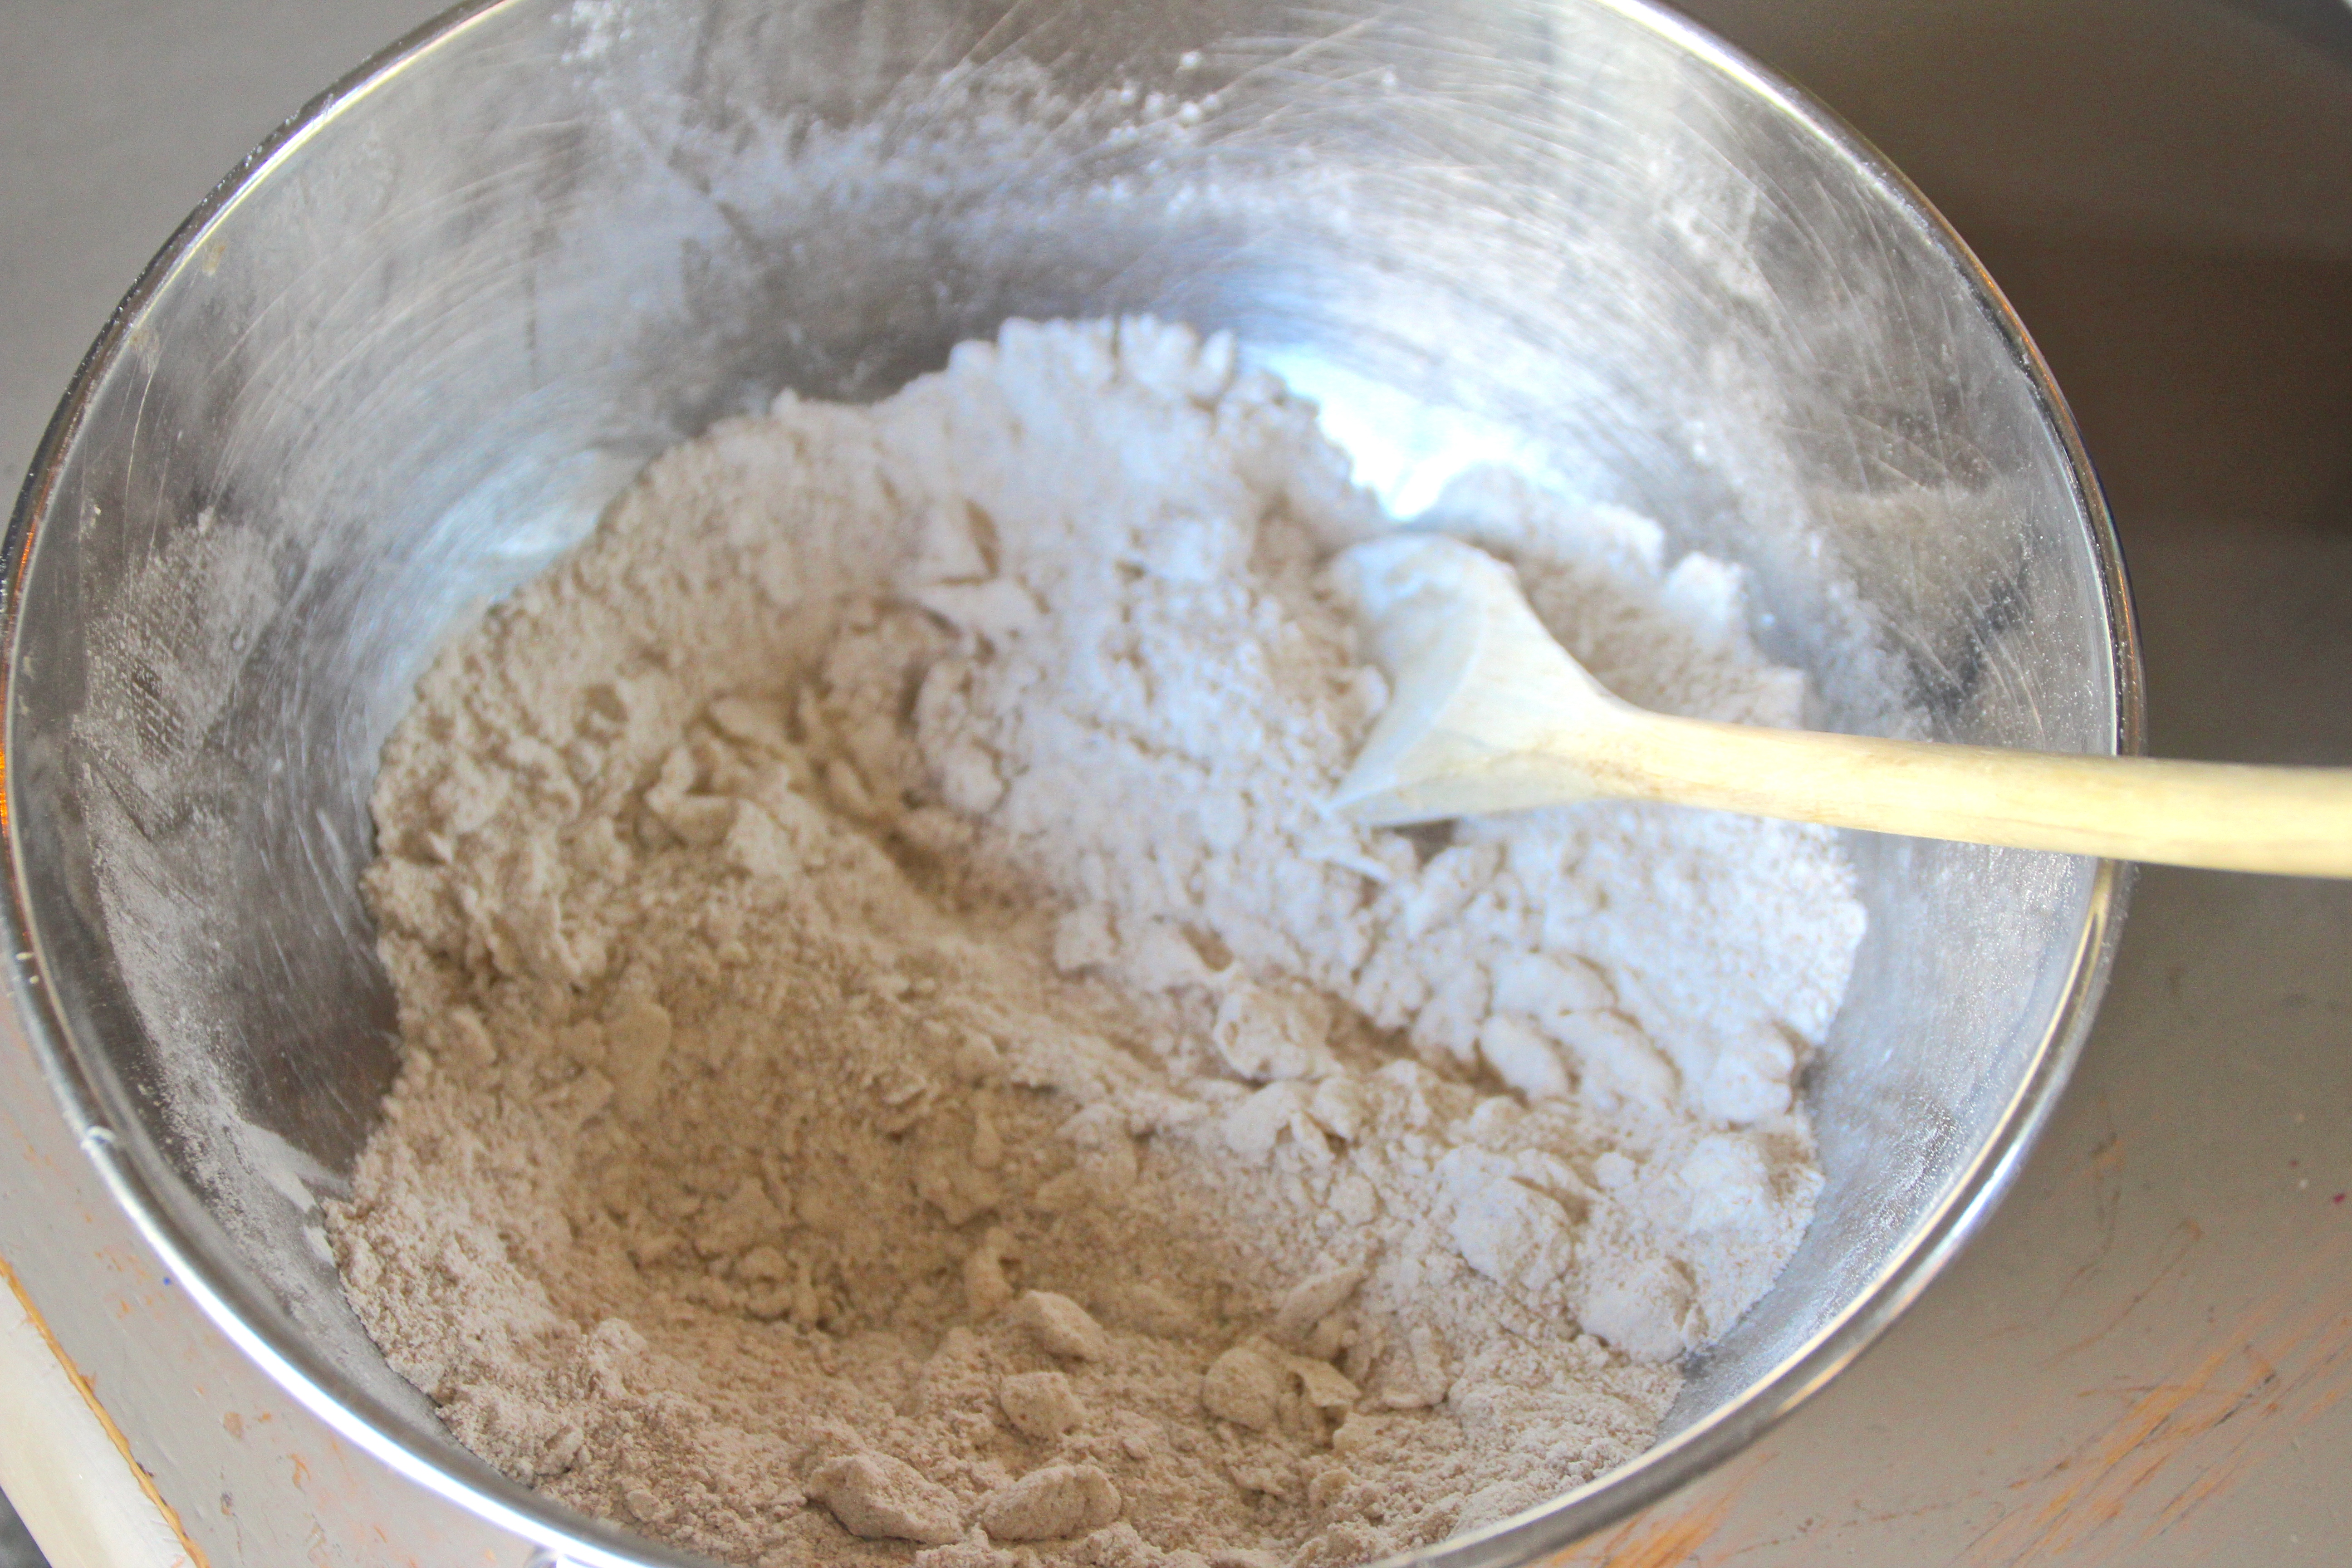
Then we mixed our dry ingredients,

made it crumbly,

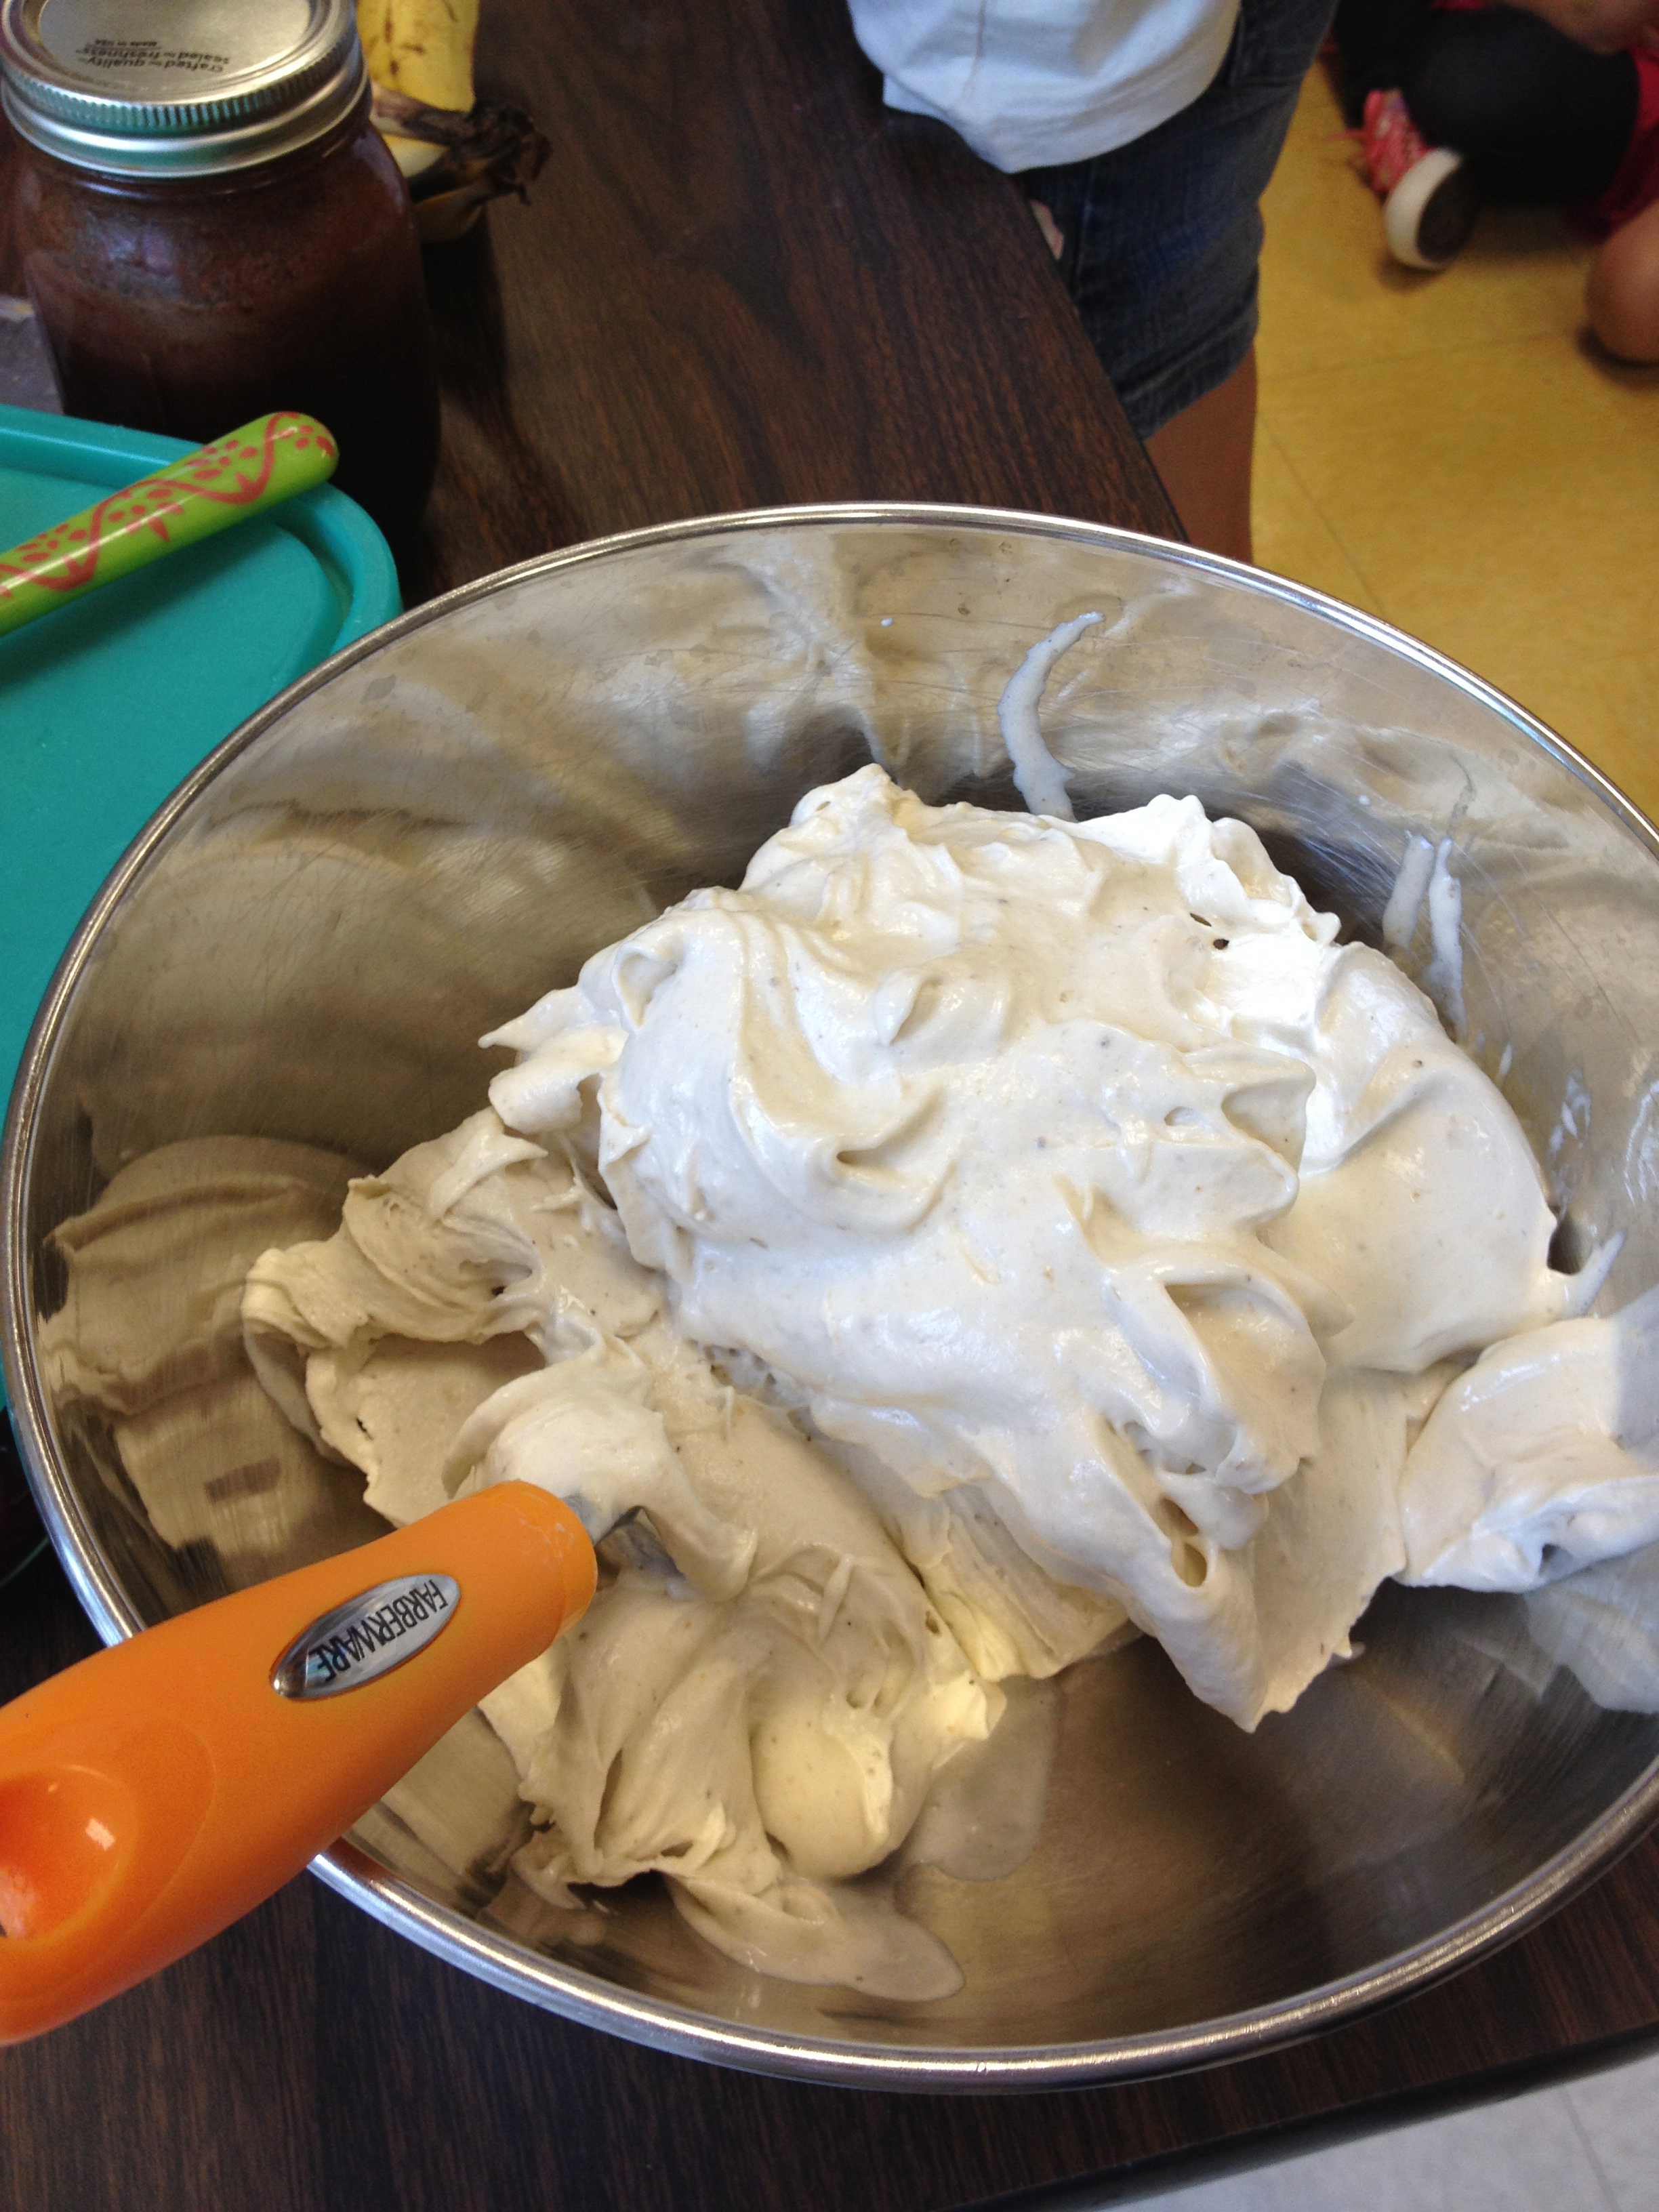
and added this topping to our peaches.
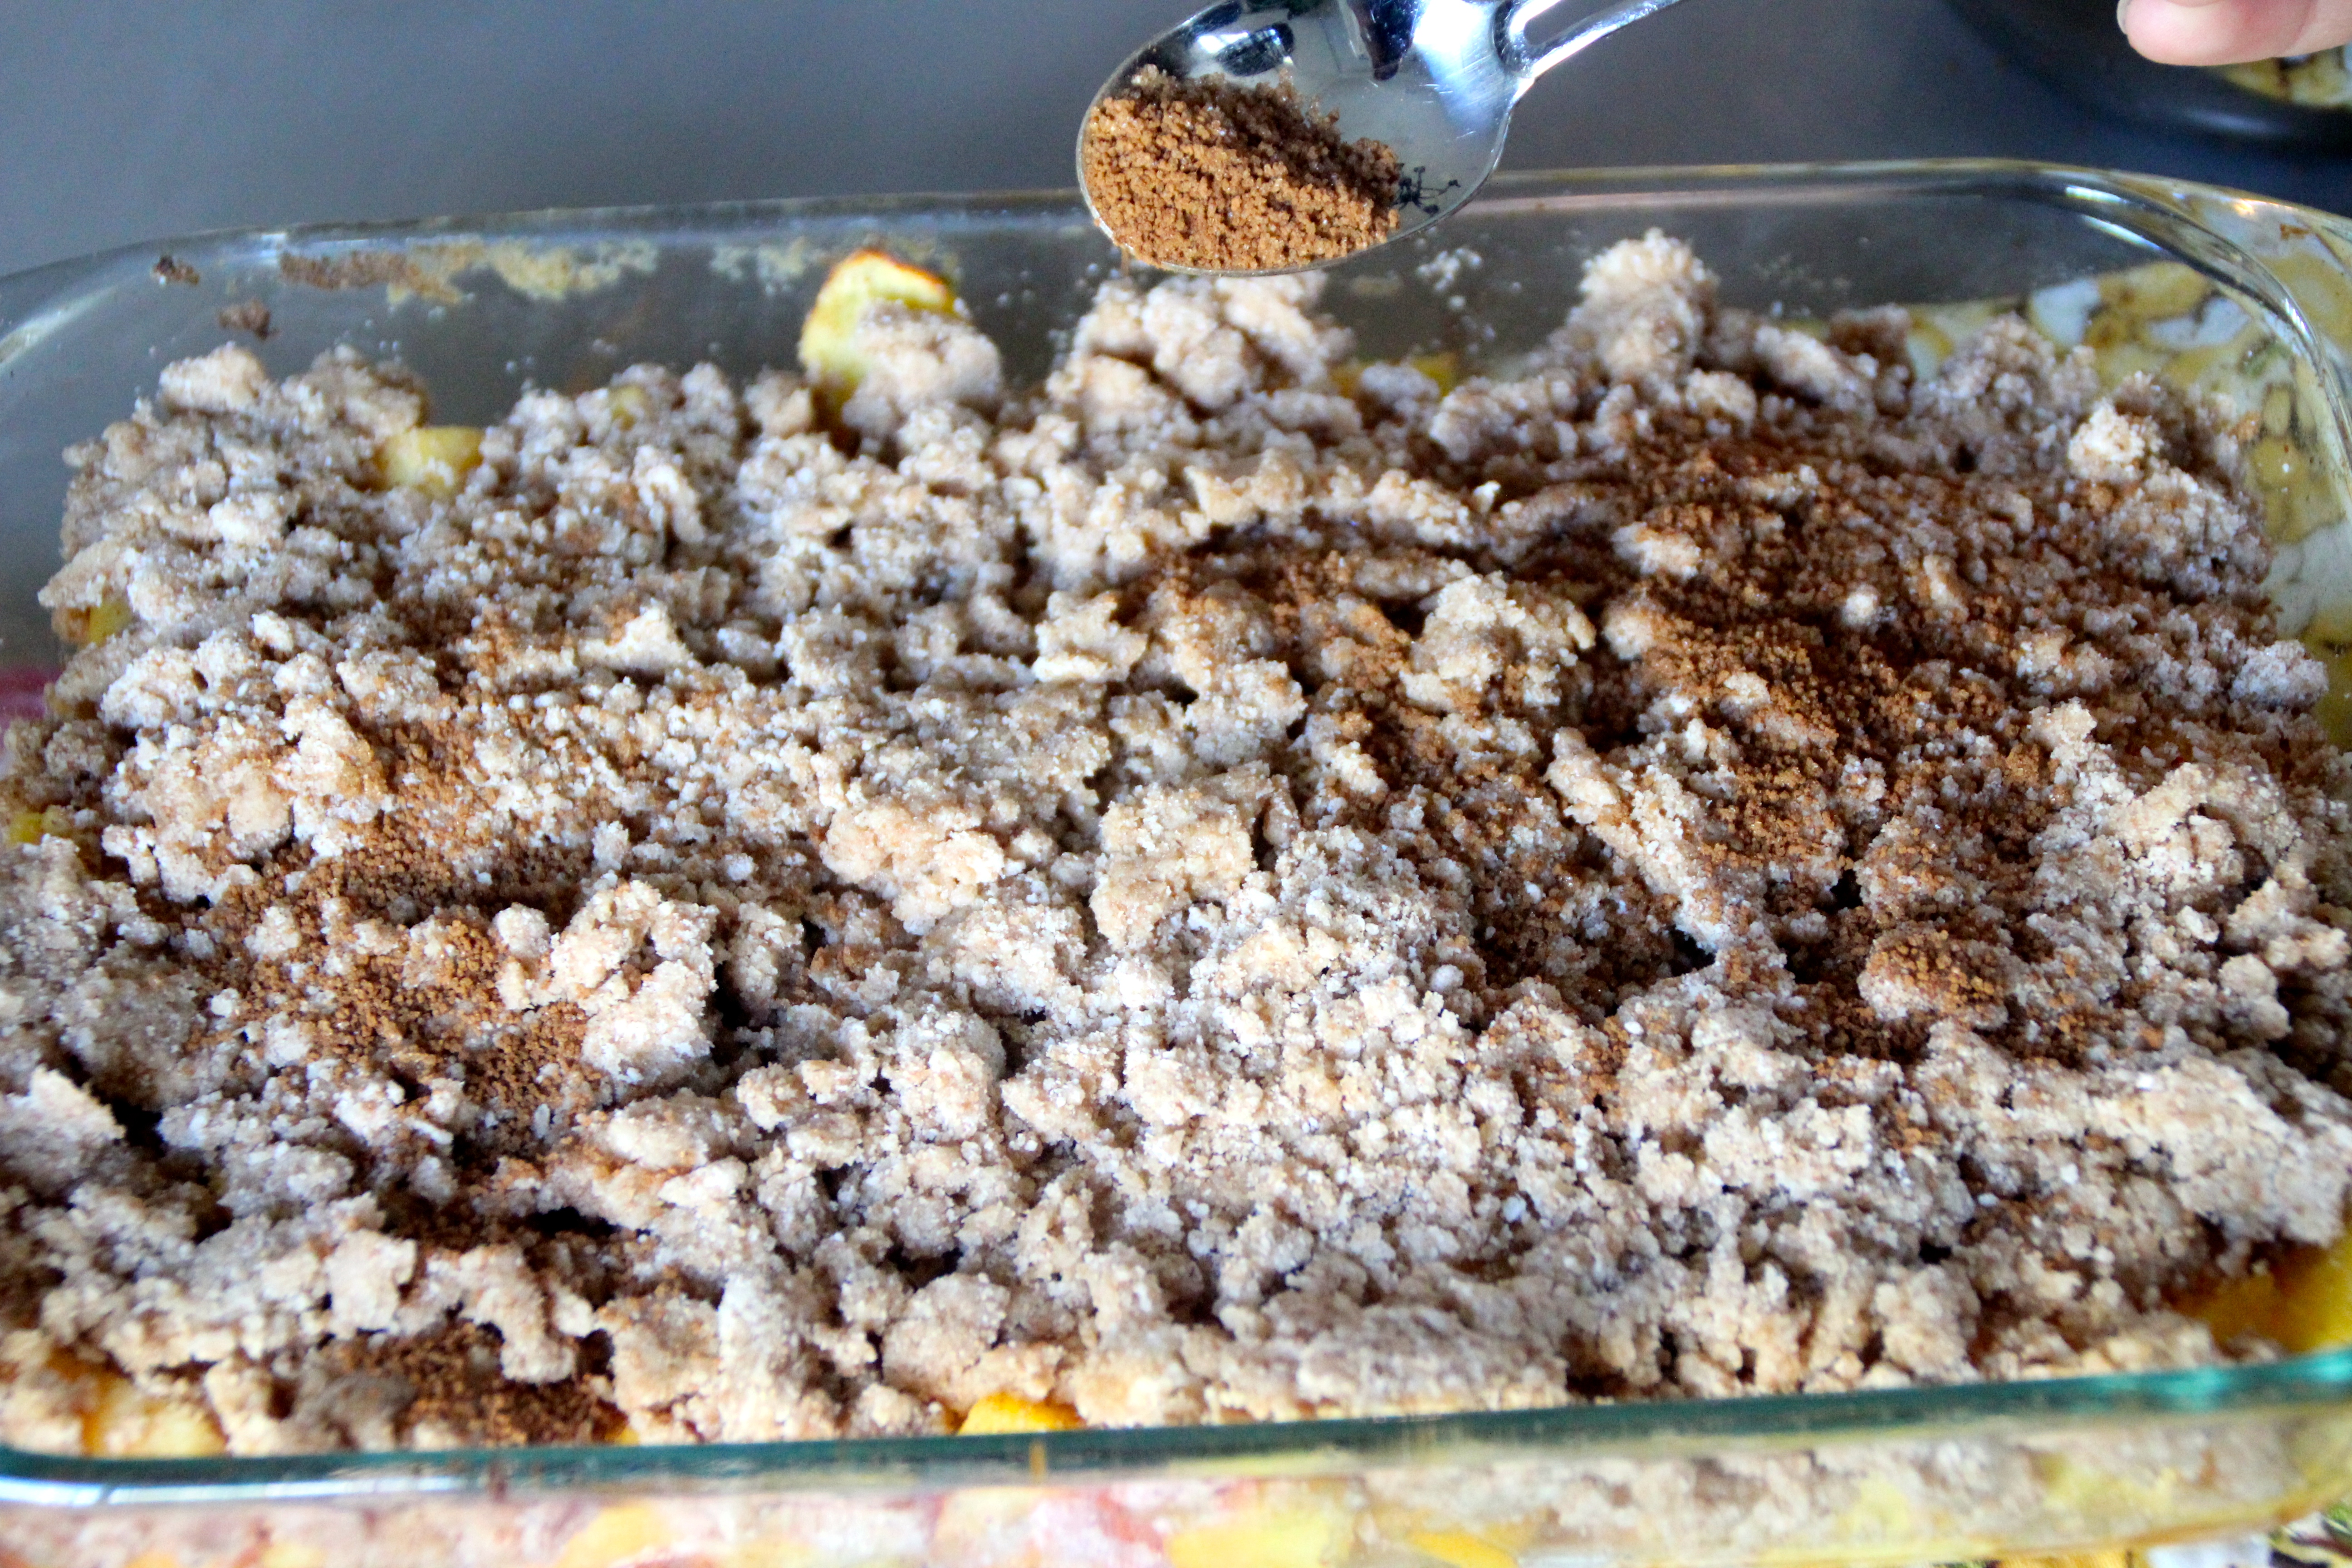
Next our cinnamon mixture was sprinkled on top.

Then we baked it.
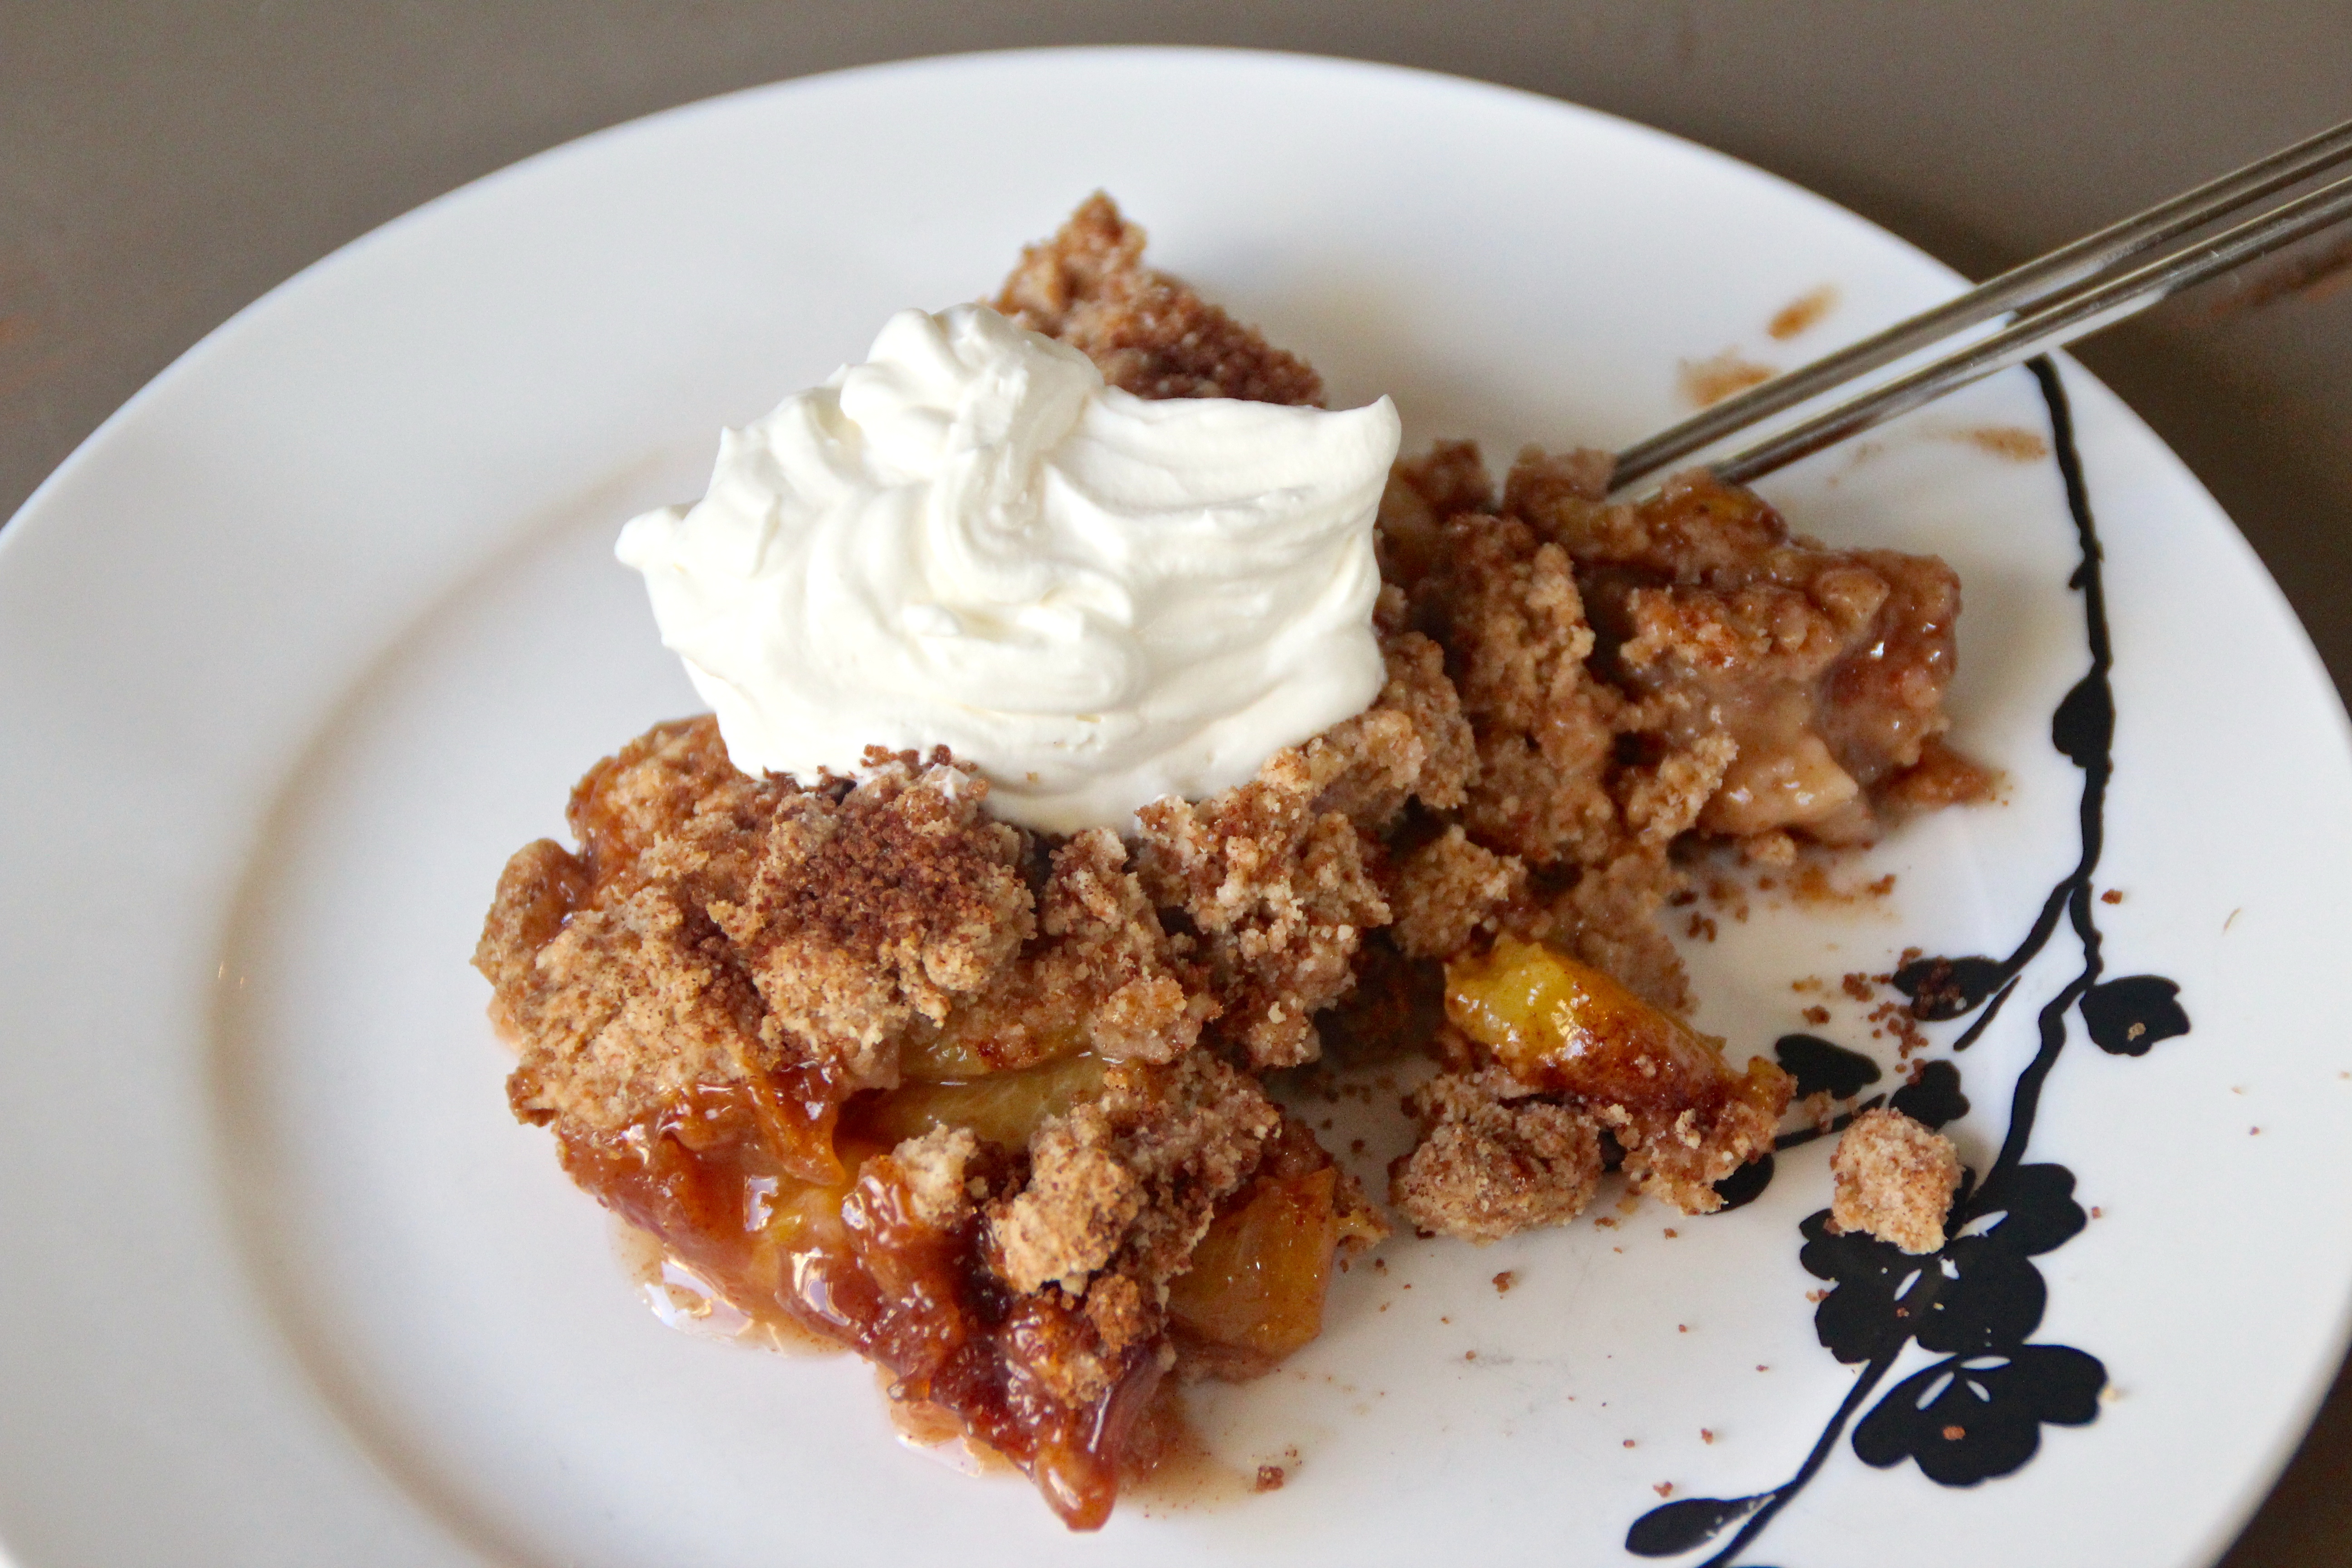
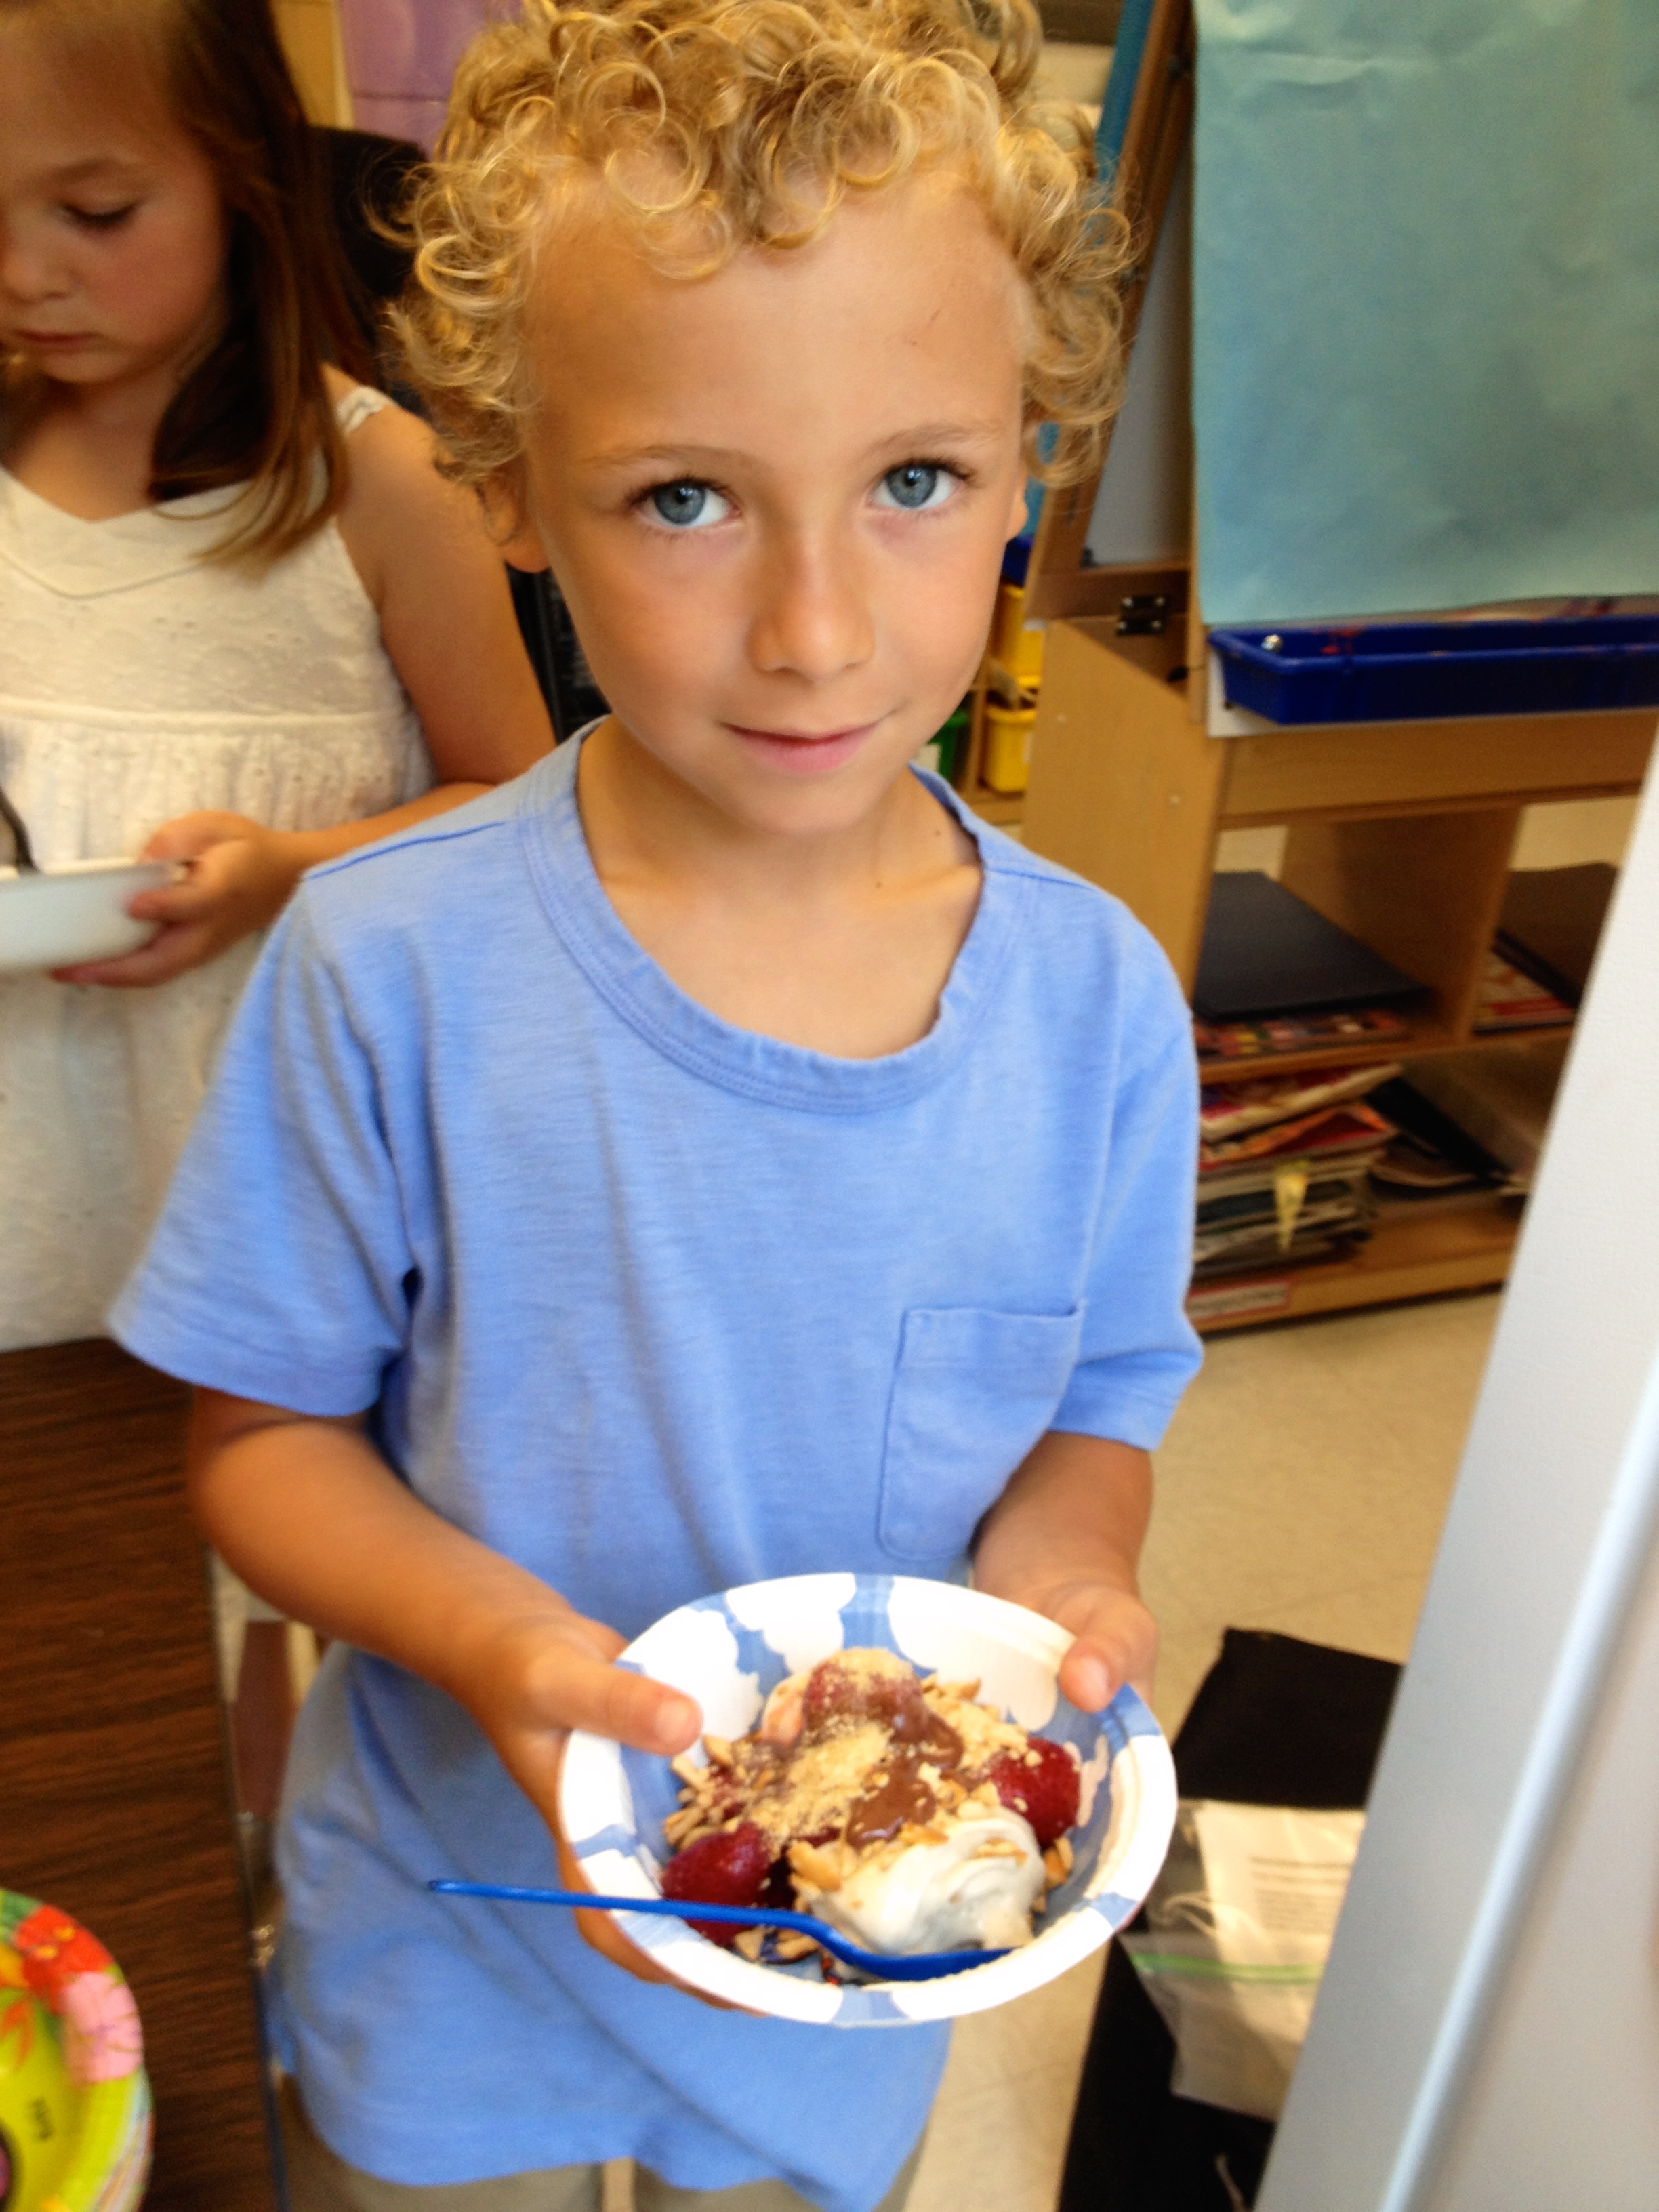
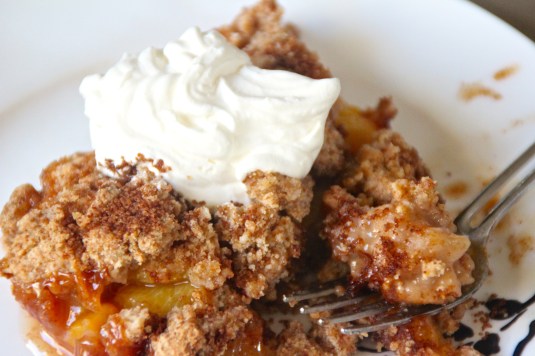
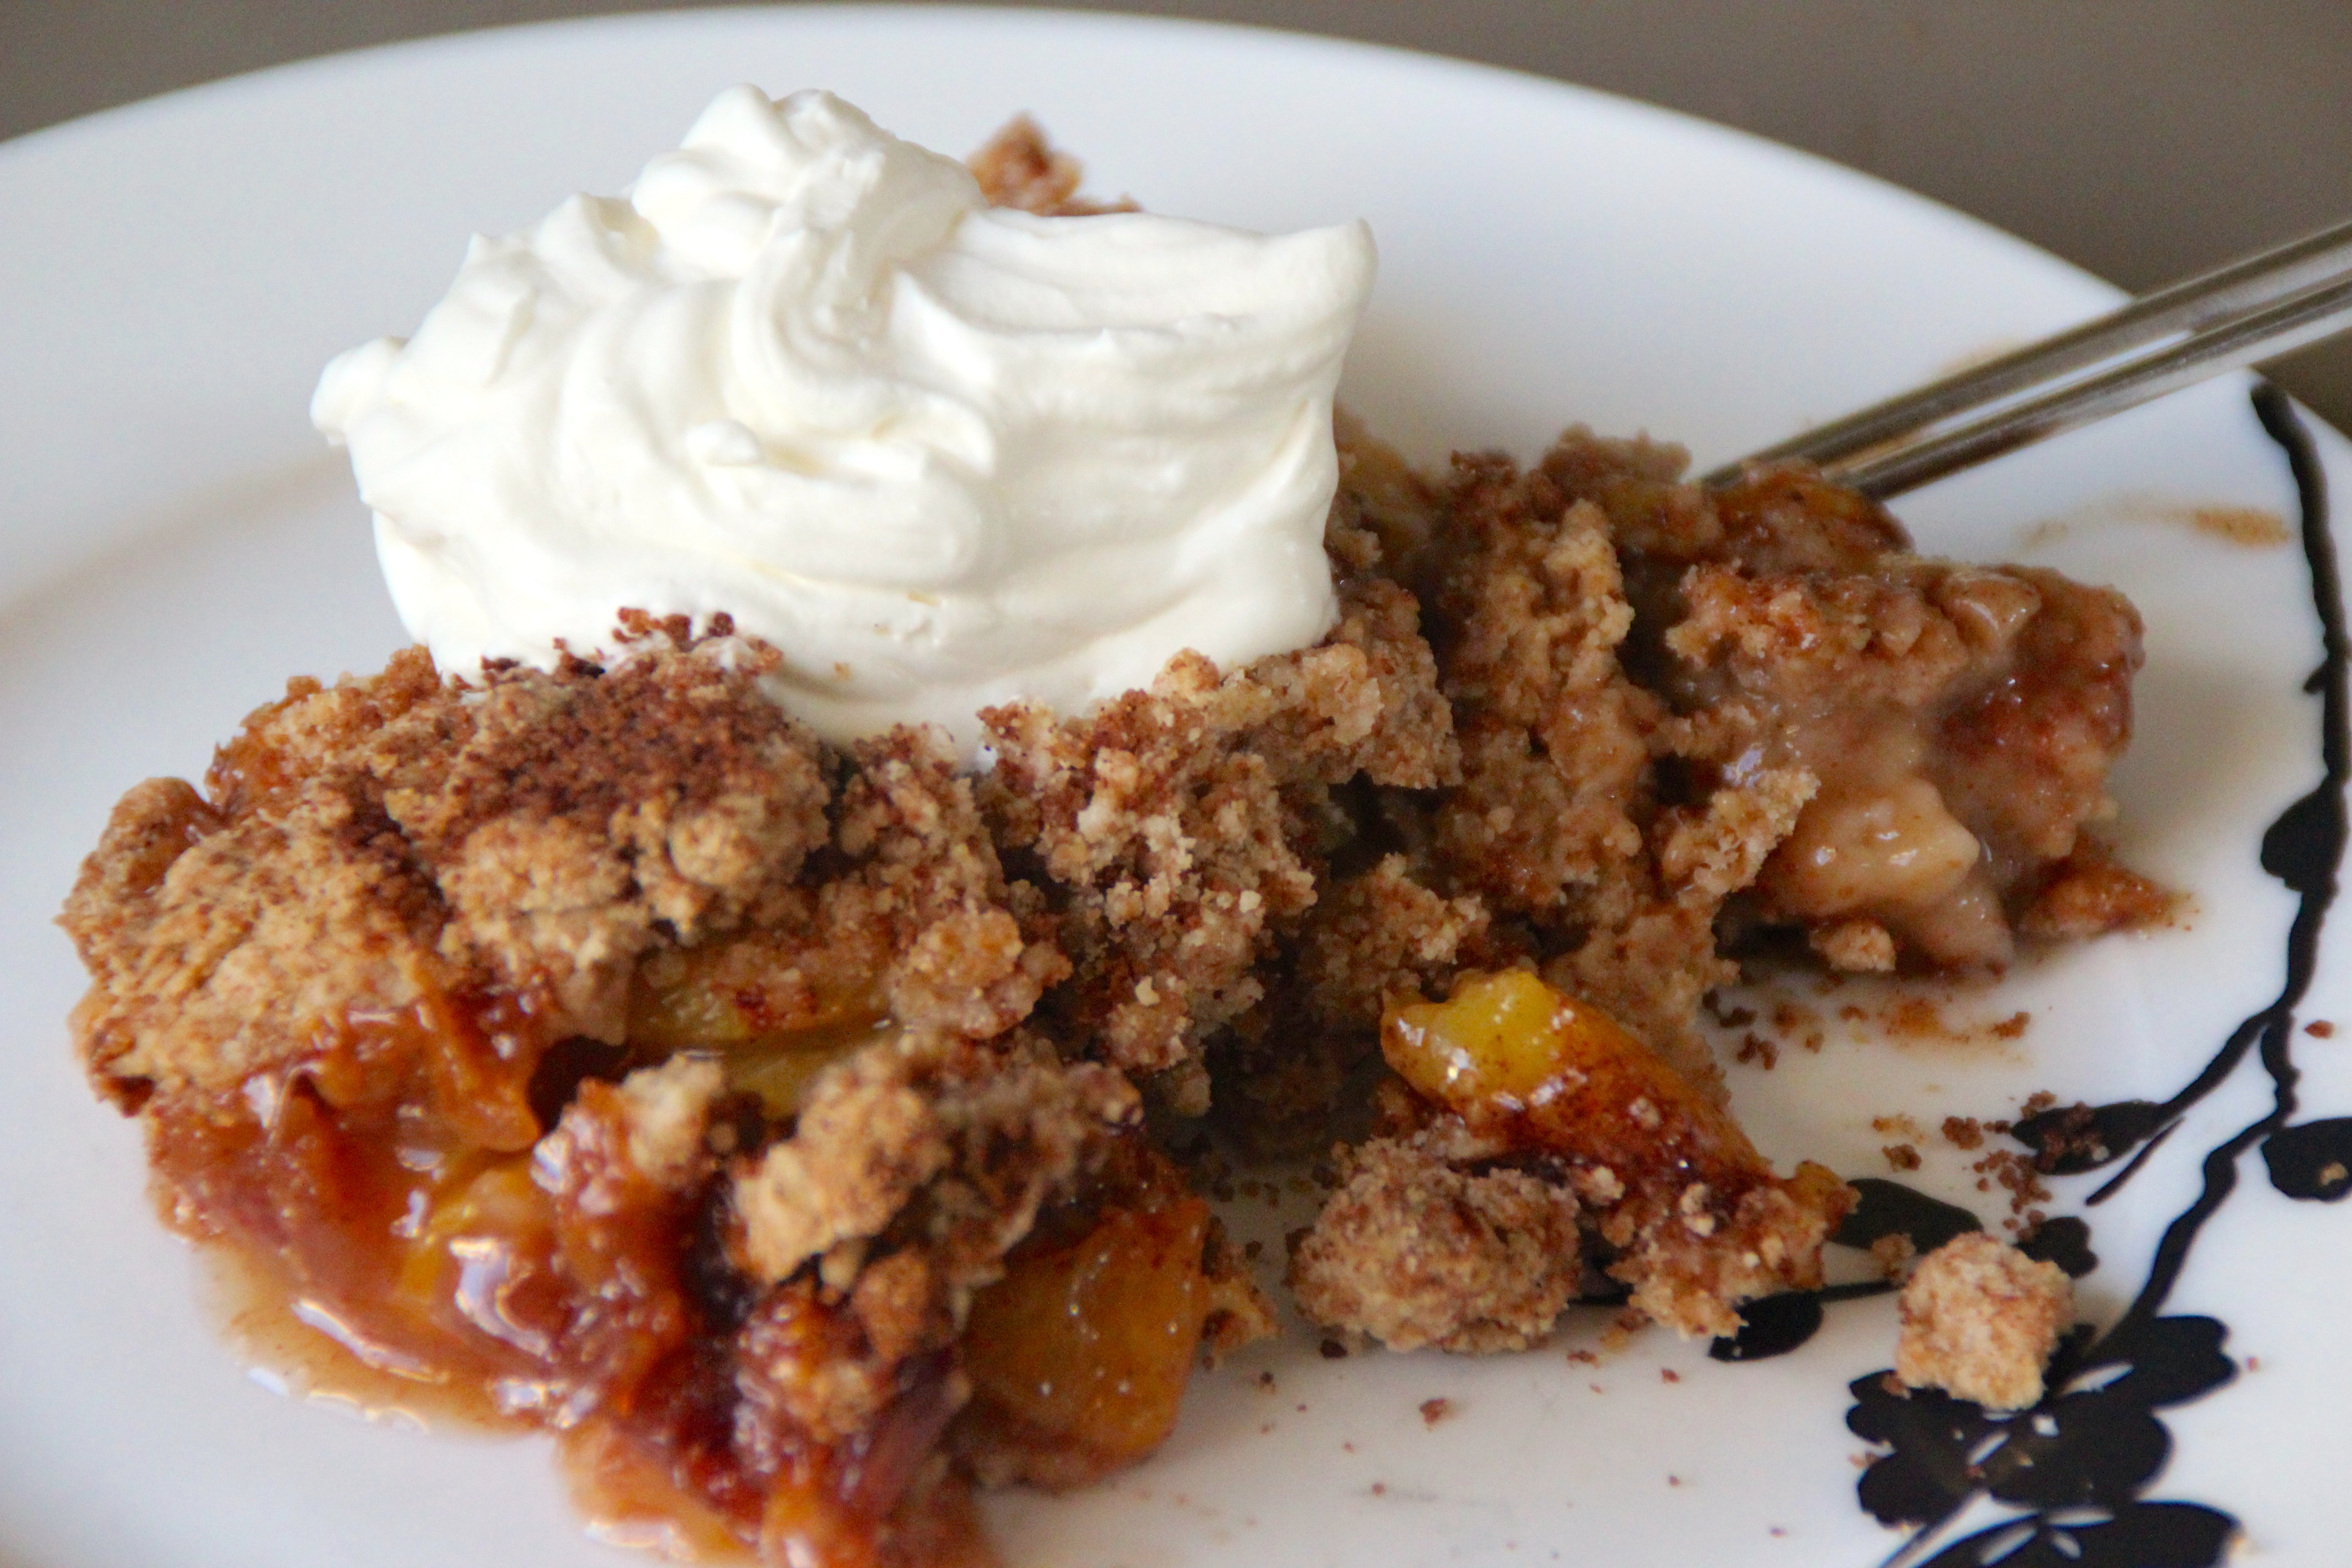
Topped it.

And devoured it.
Whole Wheat Peach Cobbler
Ingredients
For the filling
- 8 fresh peaches, peeled and sliced
- 2 tablespoons brown sugar
- 1/4 teaspoon cinnamon
- 1/8 teaspoon nutmeg
- juice of one lemon wedge
- 2 teaspoons cornstarch
For the topping
- 1 cup whole wheat pastry flour
- 1/4 cup sugar or (6 packets NuNaturals Stevia Powder)
- 1/4 cup brown sugar
- 1 teaspoon baking powder
- 1/2 teaspoon salt
- 6 tablespoons unsalted butter, cut into small pieces
- 1/2 cup boiling water
- 2 tablespoons brown sugar
- 1 teaspoon cinnamon
Directions
- Preheat oven to 425 degrees.
- Combine peaches, 2 tablespoons brown sugar, 1/4 teaspoon cinnamon, nutmeg, lemon juice, and cornstarch in a large bowl. Toss to coat evenly, and pour into a pre-sprayed 2-quart baking dish.
- Bake for 10 minutes and then remove from oven.
- While it is baking combine flour, white sugar (or NuNaturals), 1/4 cup brown sugar, baking powder, and salt in a large bowl. Blend in butter with the back of a fork or masher until mixture crumbles. Add water until just combined.
- Drop spoonfuls of crumble mixture over the peaches.
- Mix together 2 tablespoons brown sugar and 1 teaspoon cinnamon. Sprinkle entire cobbler with the sugar and cinnamon mixture.
- Bake until topping is golden, about 30-35 minutes.
The entire cobbler was gone that night.